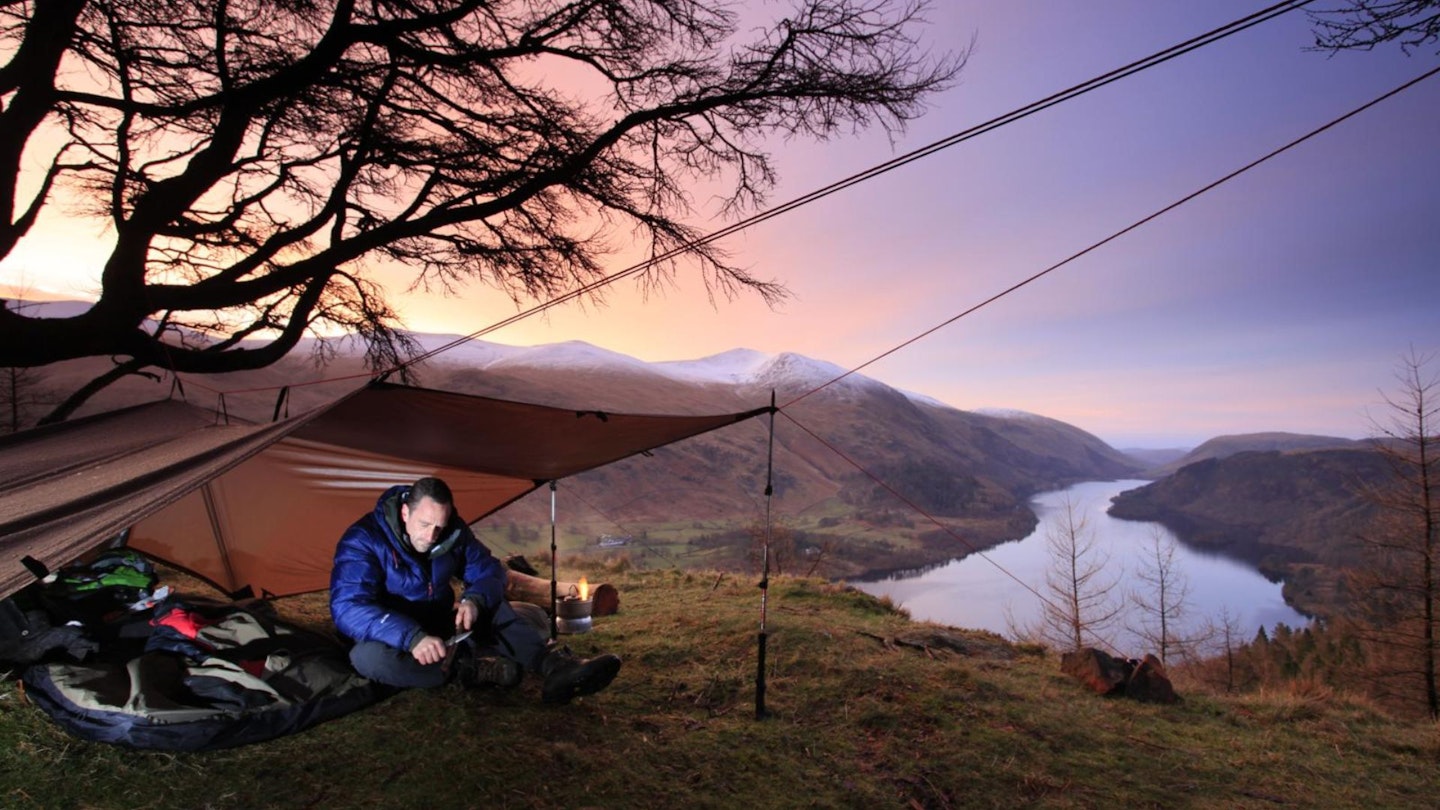
Sleeping under a tarp is being at one with the mountains. Unlike a tent, which cocoons you from the environment behind twin layers of nylon, tarp camping leaves you gloriously open to the landscape.
Stars dazzle overhead, the dawn light is unfiltered, and your views are unhindered – a magical, more intimate way to sleep wild. But let's face it, there's more to think about here than there is with a tent.
For a start, what exactly is a tarp? How does it keep you protected with so much fresh air able to swirl around inside it? Where do you even start when it comes to choosing the right one? And once you've found your perfect tarp, how do you get it set up safely?
Fortunately, we have the answers to all of those questions. So read on to find out everything you need to plan your perfect night tarping in the wild.
Related articles: Beginners's guide to wild camping | Beginner's guide to bivvy bag camping
Why choose a tarp over a tent?
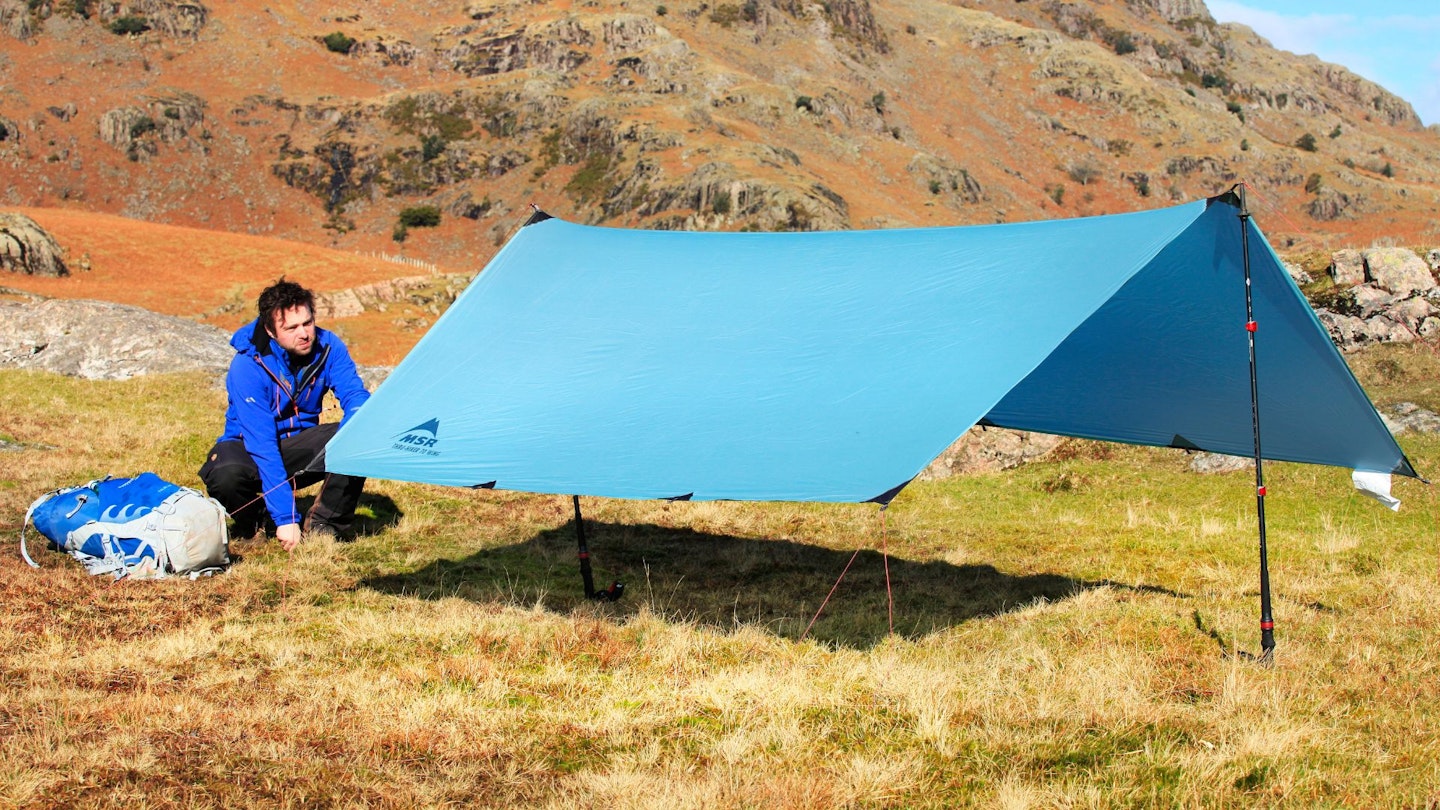
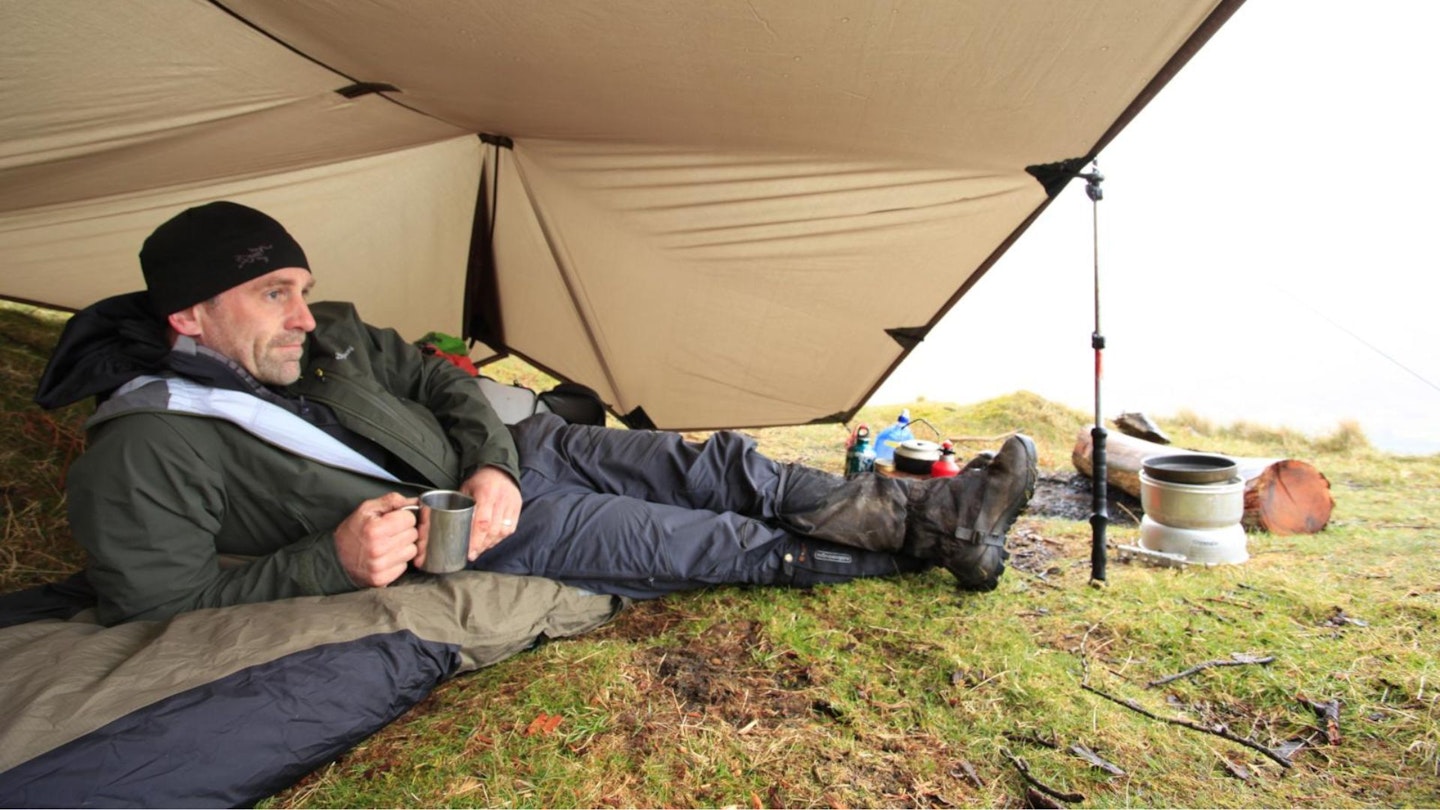
A tarp is a single-skin sheet of waterproof material used to create a bespoke shelter. It’s configurable in numerous shapes and layouts using pegs, guy lines, walking poles and optional groundsheets or bug nets. This versatility allows modification to the weather. Pitch high for space, ventilation, and epic views in good conditions; pitch low for stability and protection during storms.
Choosing a tarp over a tent, therefore, won’t necessarily expose you to more wind and rain. With a little practice, you’ll quickly learn to pitch your tarp in a way that’ll protect you in the mountains, come rain or shine. The options are almost endless, from the simple A-Frame and Lean-To to the more complex Teepee or C Fly Wedge.
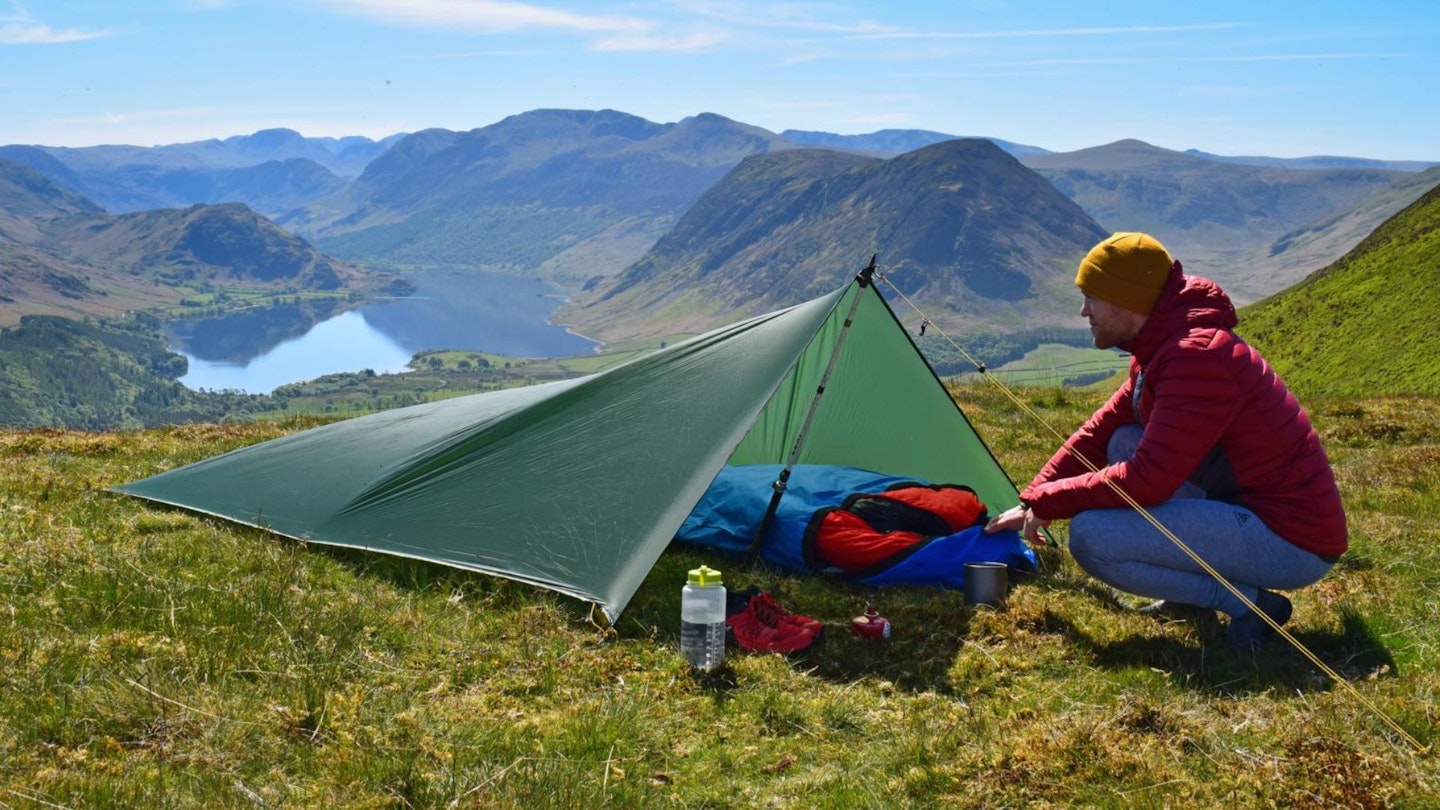
Tarps come in three types: flat, shaped and tarp-tents. Flat tarps, which are square or rectangular, are the simplest and cheapest. Shaped tarps are multi-sided or have curved edges, while tarp-tents – which blur the line between tarp and tent – can be pitched in different ways but include advanced features such as zips or doors.
Confused yet? Fear not – we’re here to help with our ultimate beginner’s guide to sleeping under a tarp, including setups, top tips and key features.
How to choose your camping tarp
CLICK HERE for our guide to the best camping tarps for 2024
Size
For a solo tarp, aim for about 2.5x1.8m. You’ll get more versatility with a larger tarp, but it’ll weigh more.
Weight
T For a minimalist experience, go for the lightest tarp possible – and remember to count the weight of poles, pegs, guy lines and bivvy too.
Seams
Pick a tarp with sealed seams to ensure your shelter is waterproof. Or apply the sealant yourself to prevent water ingress.
Attachment points
A good tarp will have 8 or more attachment points for guy lines and pegs, ensuring greater versatility and stability.
Prop points
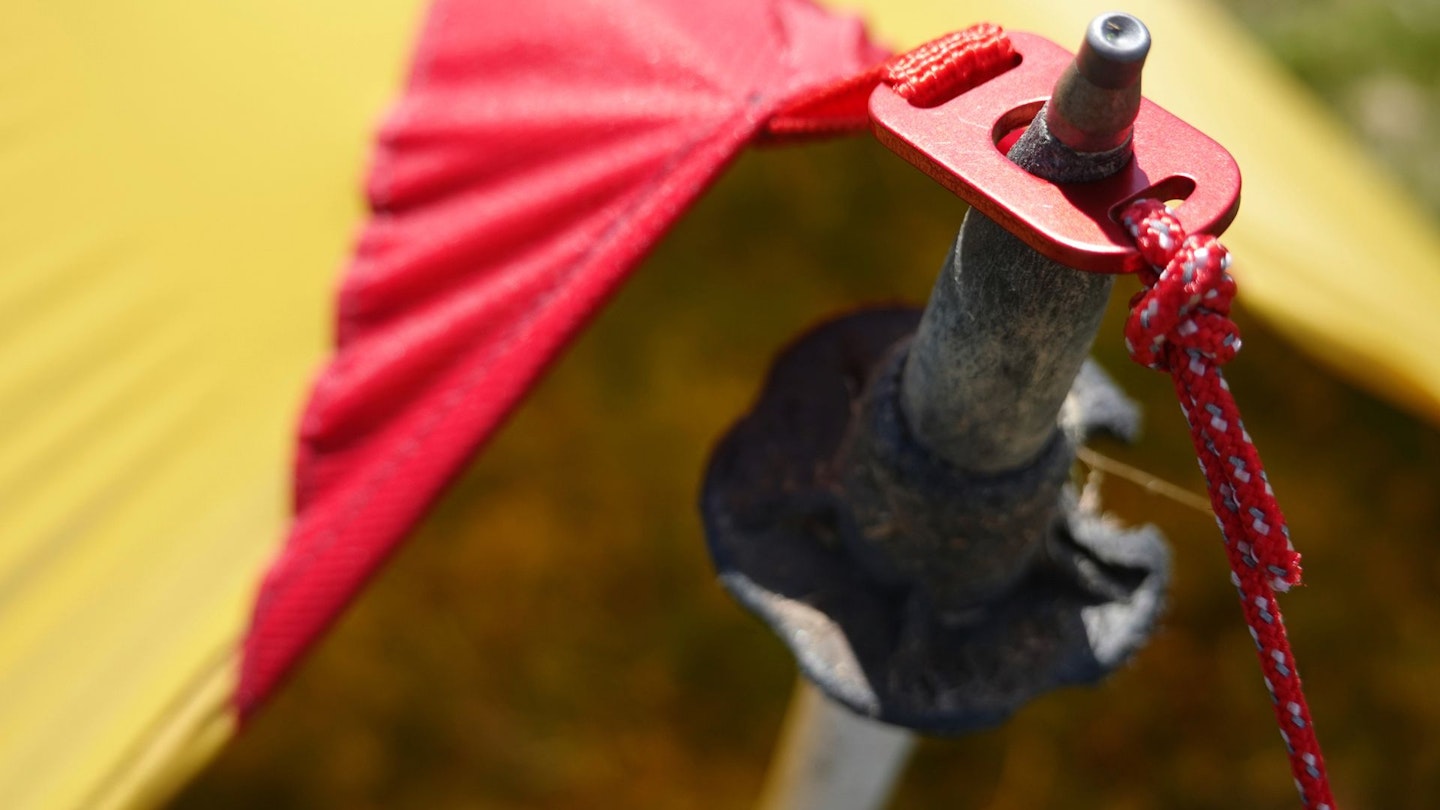
Integrated grommets, which house a trekking pole’s tip, help improve the integrity and stability of a tarp.
Waterproofing
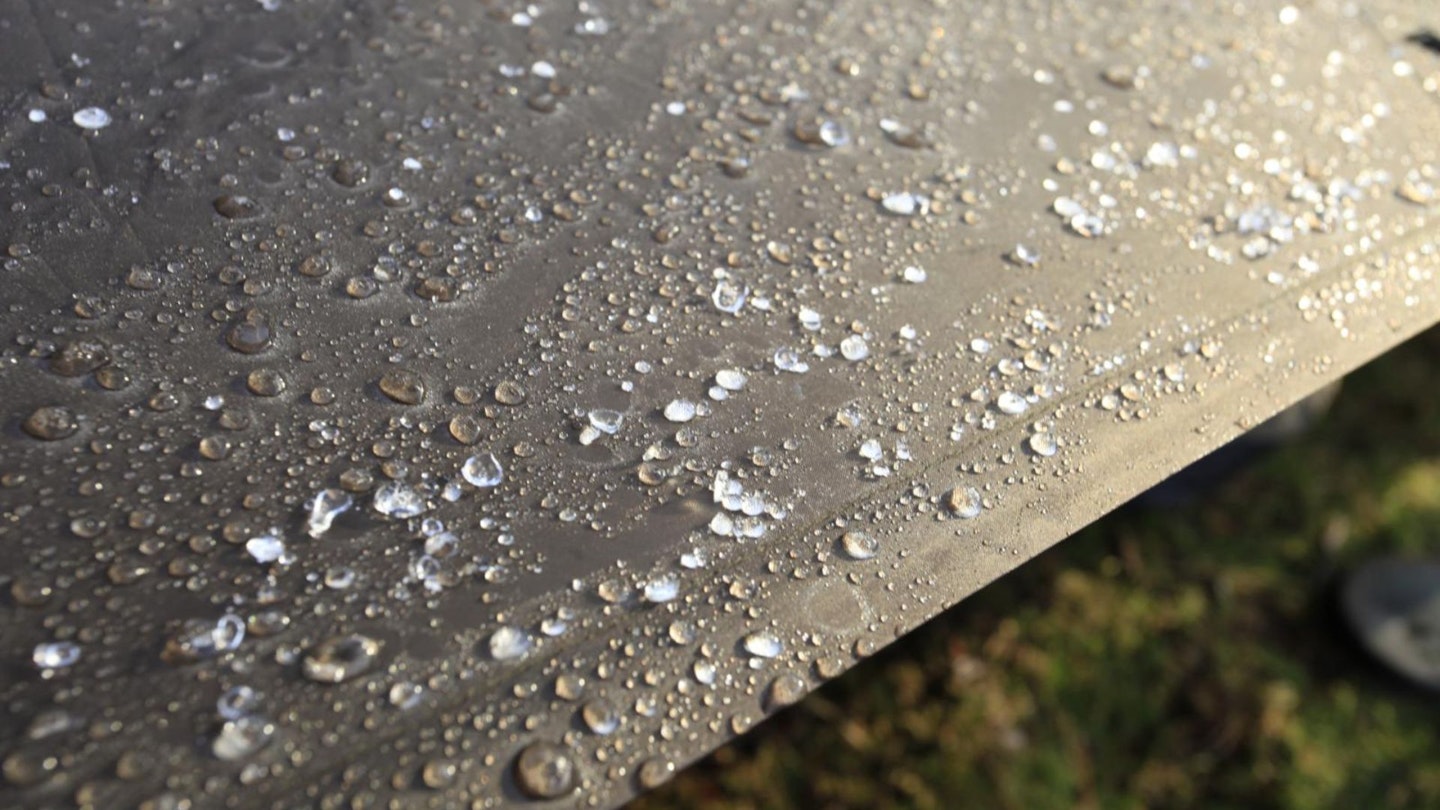
A tarp’s hydrostatic head rating (HH) will give a good indication of its waterproofing – aim for 3000mm+ HH for rainy adventures.
Materials
Advanced waterproof materials are ultralight and thin, whereas thicker materials are more durable and cheaper but heavier
Extras
Additional features – such as integrated zips, doors, groundsheets or bug mesh inners – will provide enhanced functionality.
LFTO's top tips for tarp camping
So now you know why you want a tarp and what to look for when buying one, but how do you prepare for that first tarp camping trip in the great outdoors? Here are some simple tips to help you plan your tarping adventure.
Practice makes perfect
Test-run your tarp in the garden, fine-tuning your set-up so it’s as taught, strong and stable as possible.
Prepare your kit
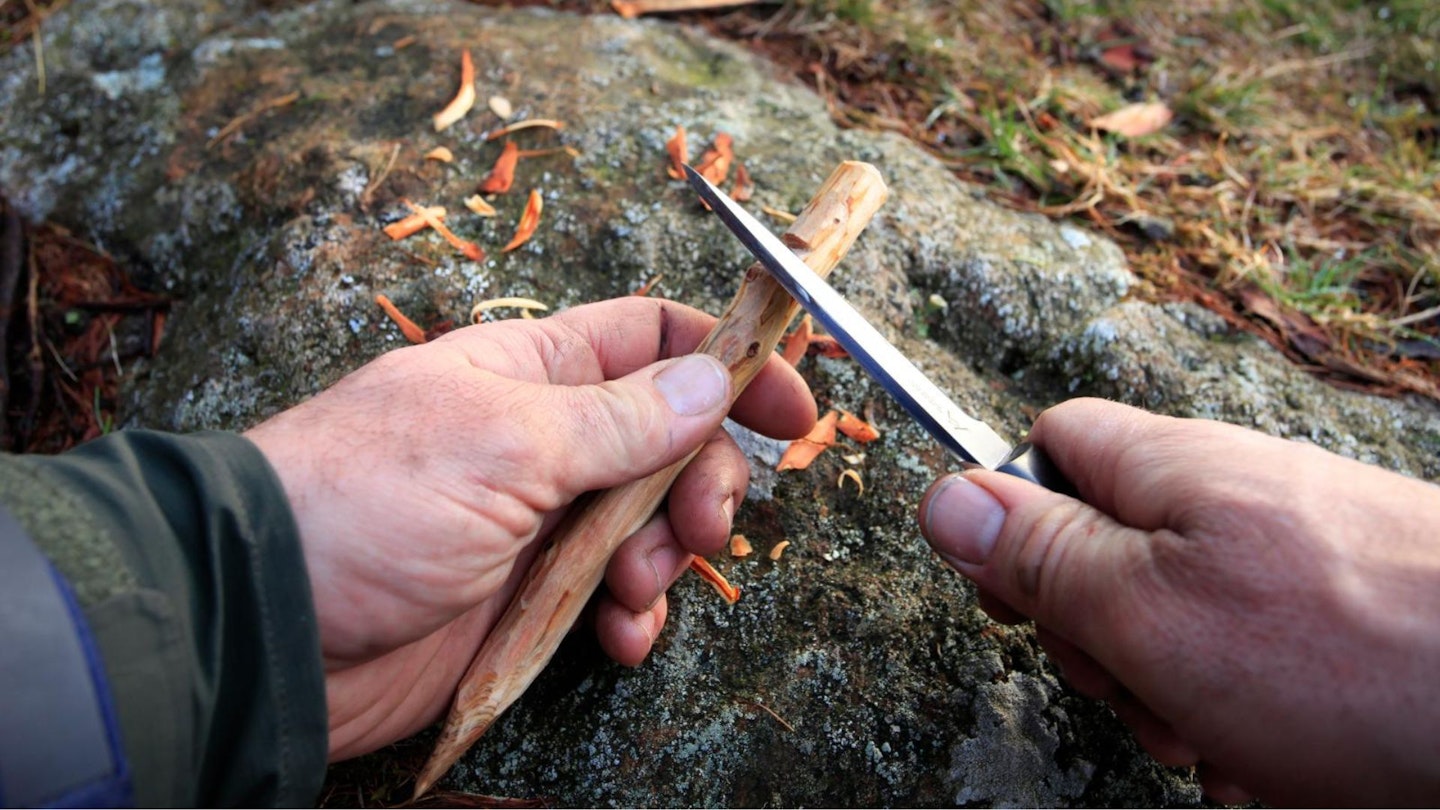
Knowing exactly how many pegs, guy lines and trekking poles you need to set your tarp up will ensure a precise pitch at the minimum weight.
Plan for the terrain
Shaped tarps are best for a low-profile pitch (to block out the horizontal rain of the mountains); flat tarps are great in forests where a ridgeline can be hung between trees.
Choose your camp spot wisely
Pick a spot that’s as flat, dry and sheltered as possible, and pitch so your entrance is facing away from the prevailing wind.
Protect your sleeping bag
Some campers use a bivvy to protect their sleeping bag from the wet ground. Others pitch their tarp so that part of it creates a groundsheet.
How to rig up your tarp
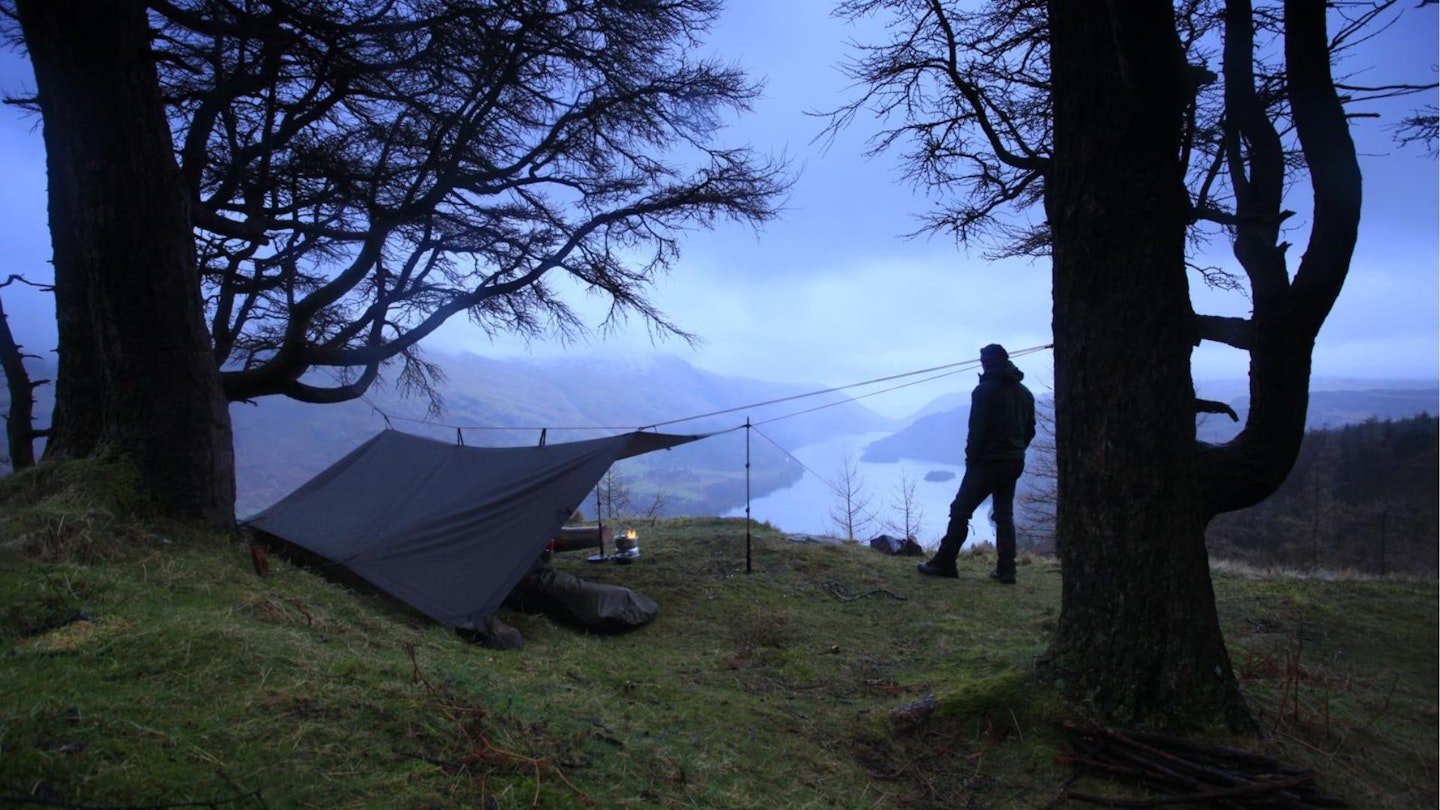
There are four main ways to rig a tarp for a night of wild camping – A-Frame, Lean-To, Side-V, and Teepee. Here's a quick guide on how to set up each one from our chief tarper James Forrest.
A-Frame
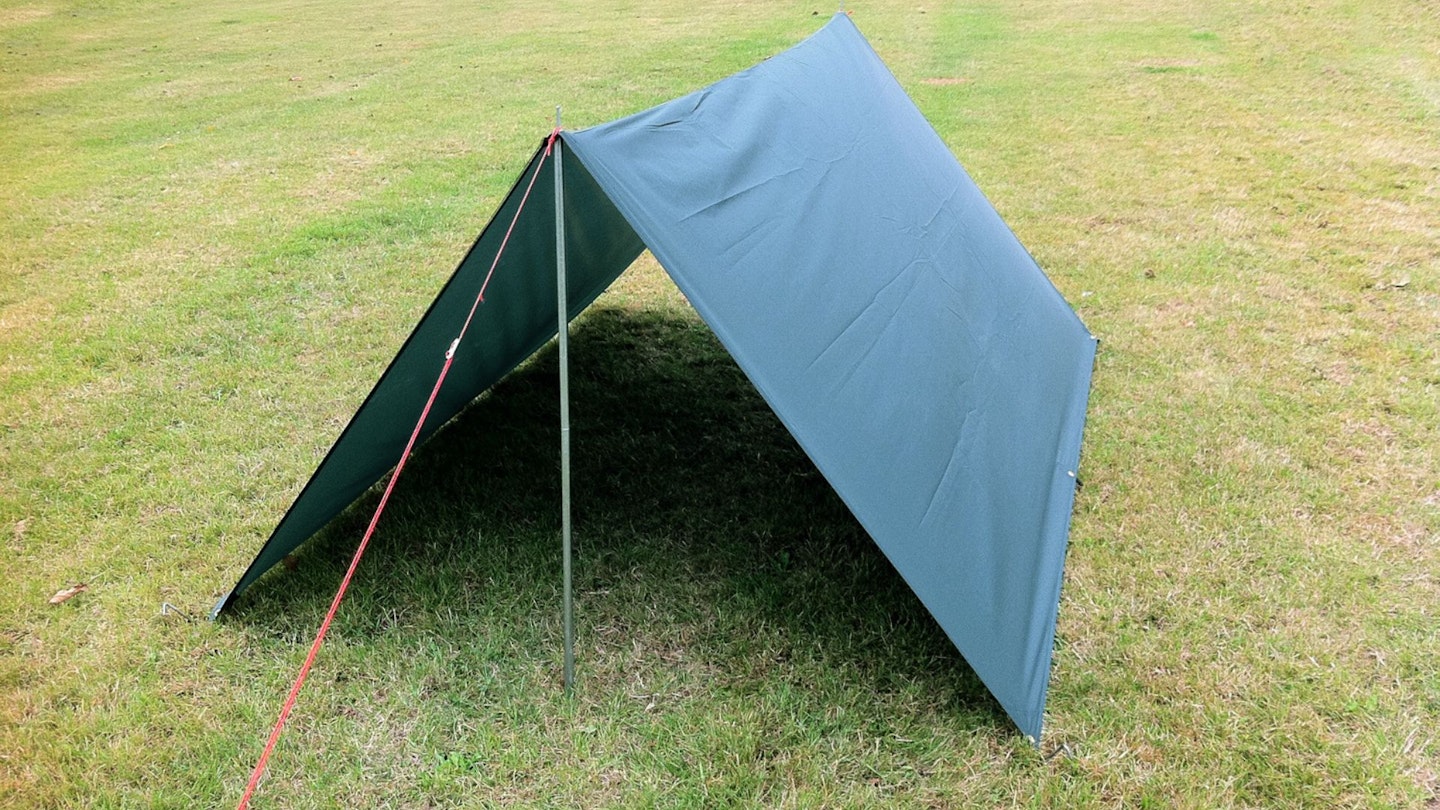
This simple pitching technique involves pegging down both sides and using trekking poles and guy lines to raise the other two ends into a roof. This creates a steep-walled, A-shaped shelter with twin openings. For an airier set-up, use guy lines instead of pegs in the four corners to create a ‘floating’ A-Frame.
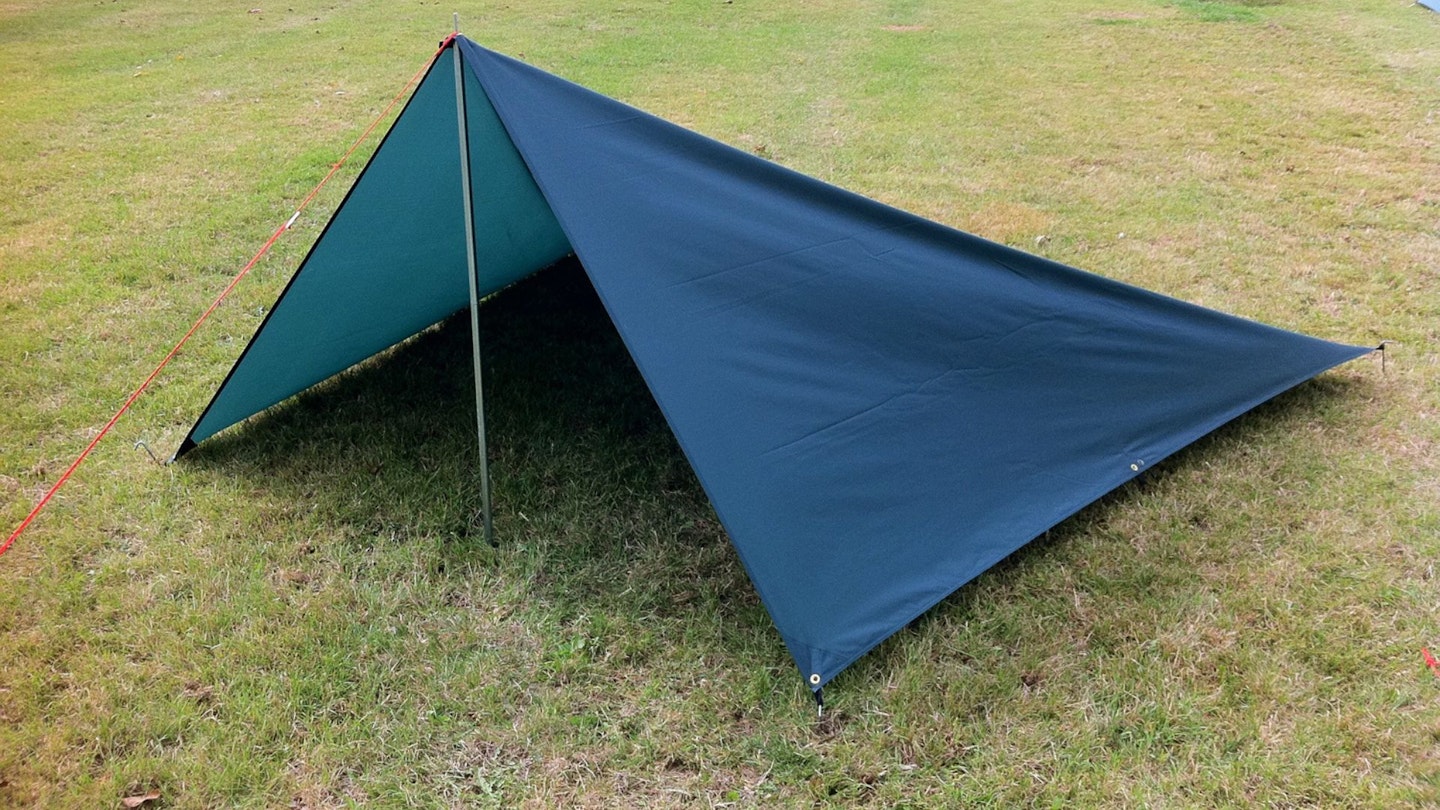
Or for improved weatherproofing, ditch one pole and peg down the tarp’s rear to create a single-entranced ‘closed’ A-Frame.
Lean-To
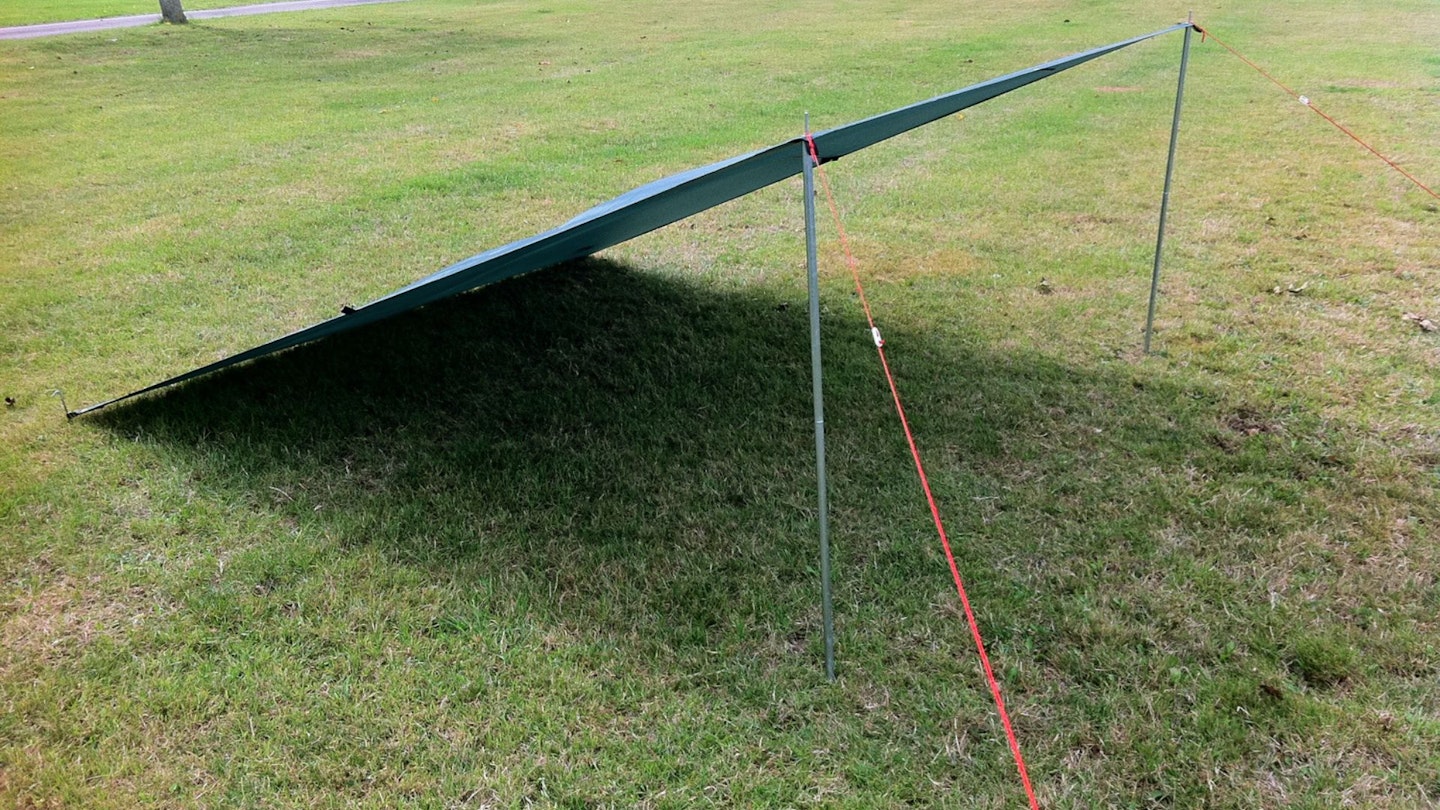
The Lean-To is a minimalist structure with an open shape. In its simplest form, it’s an angled rectangle with the tarp’s rear pegged down and the front raised using trekking poles.
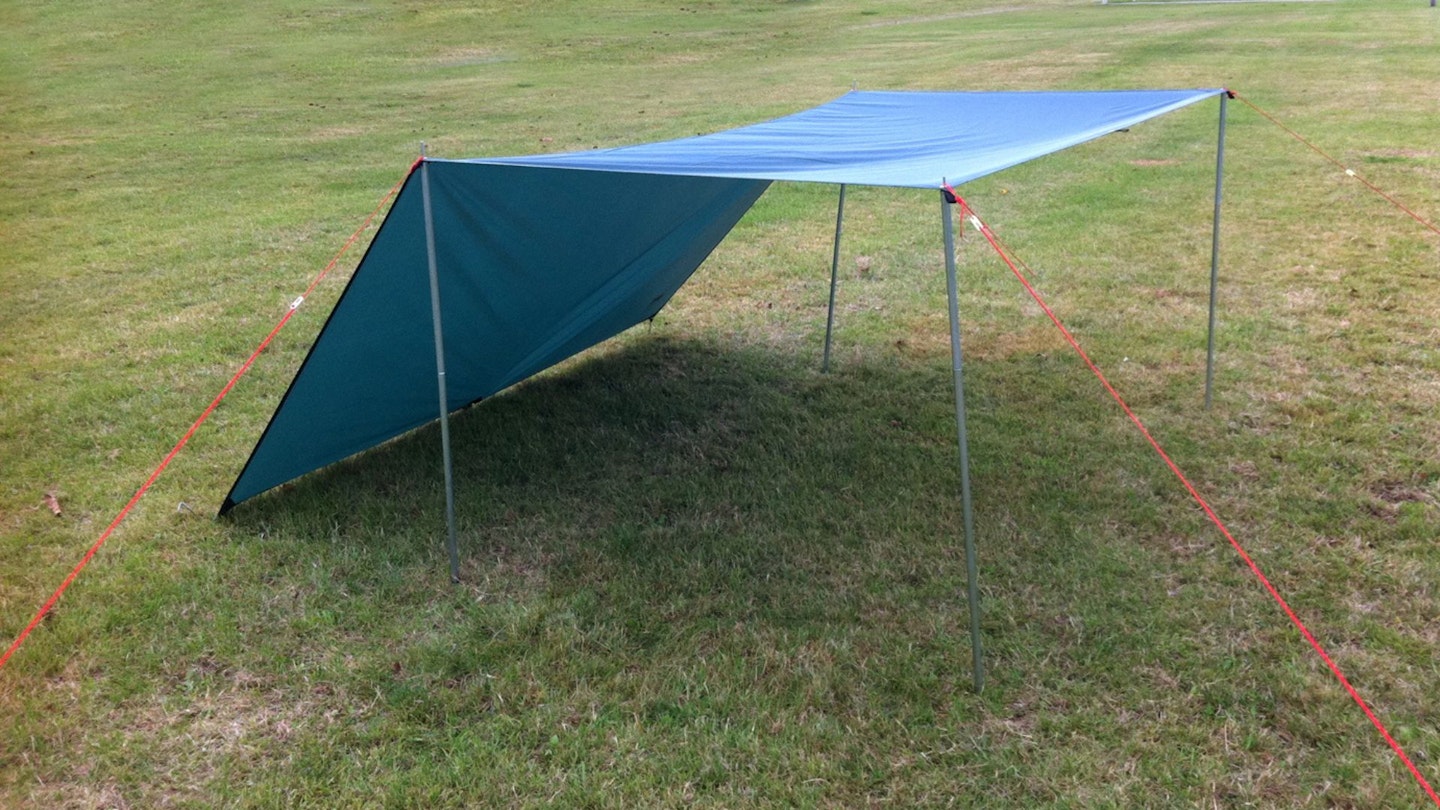
A more advanced version is two-sided, with a rear wall and lipped canopy created with poles and tensioned guy lines. But perhaps the best option is the C Fly Wedge, which resembles the basic Lean-To (with lipped canopy), but with an extra pegged-out fold at the bottom forming a groundsheet.
Side-V
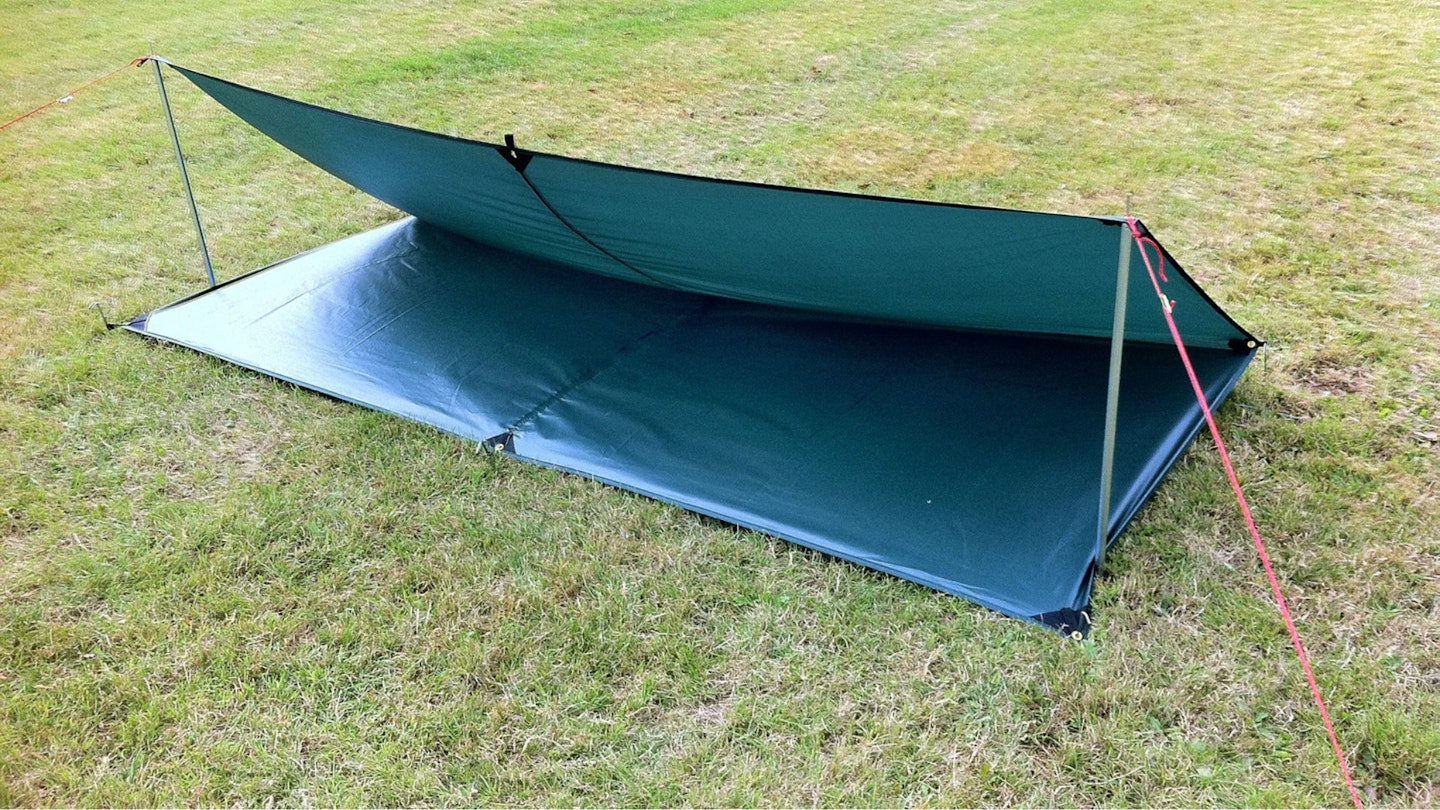
This basic shelter is shaped like a V on its side, with a makeshift groundsheet and sloping roof/wall. The roof blocks the prevailing wind, but both the sides and front are open to the elements. Pitching the Side-V is simple: stake out a rectangular groundsheet, and use two poles and accompanying guy lines to create the angled roof.
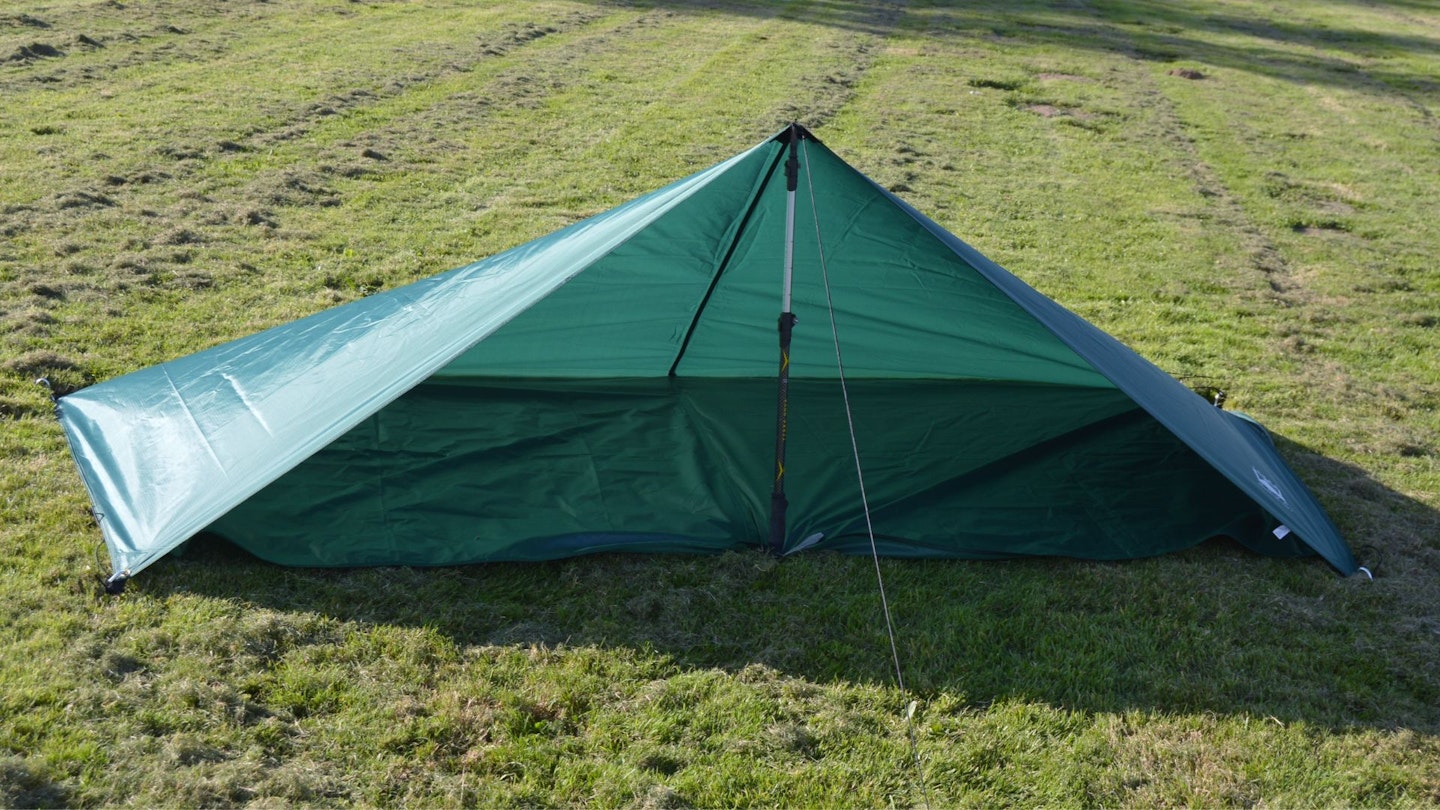
A common variation is to use only one pole centrally and peg down the sides, forming a tent-like structure with groundsheet and single opening.
Teepee
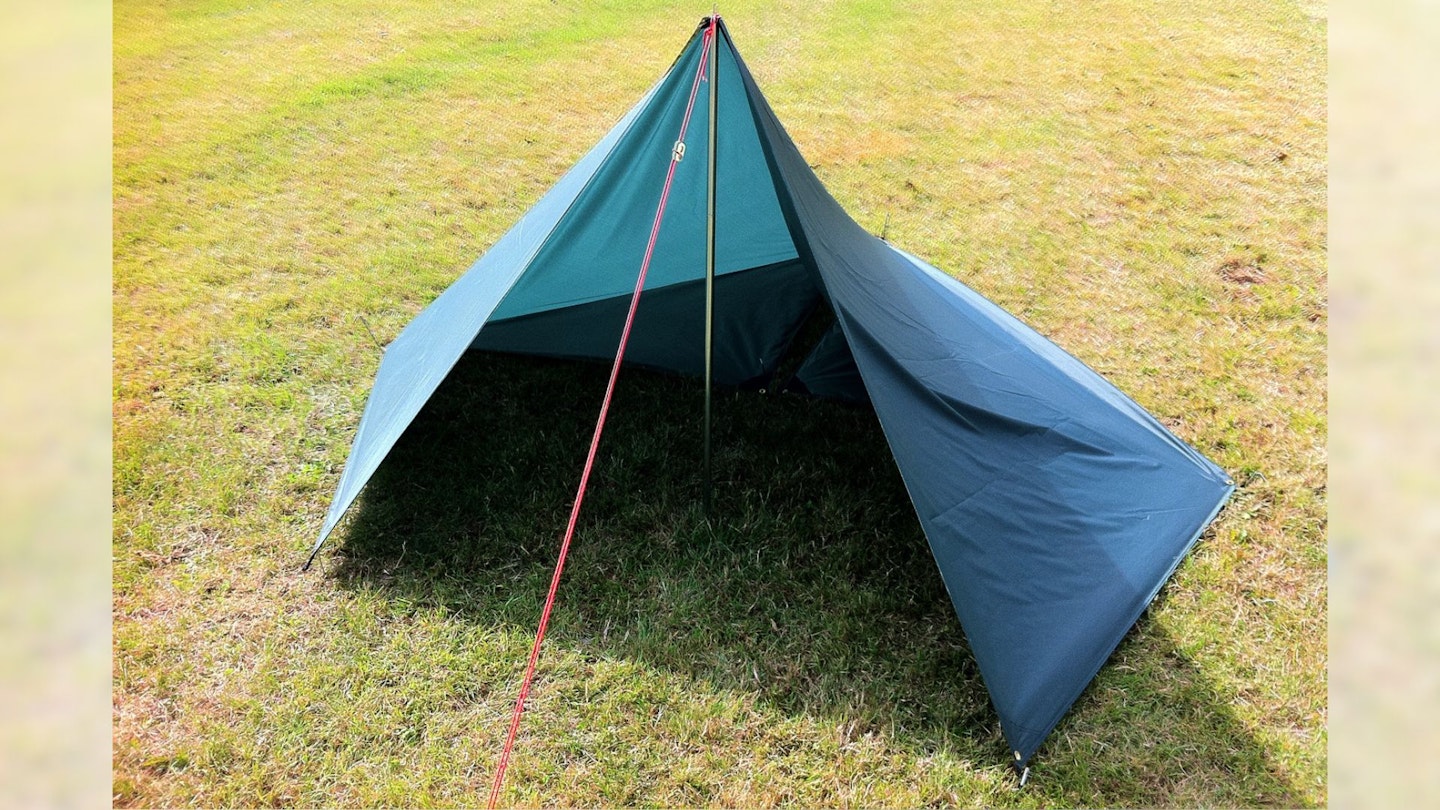
This set-up uses one pole and guy line to create a wigwam-shaped shelter with good headroom. All other rig points are pegged down. Secure your pole in the tarp’s middle for a wraparound style, or attach it to the tarp edge for an airier structure.

