
Whether you’re wild camping, bikepacking or enjoying a campsite summer holiday with the family, there’s one thing that will truly ruin the experience – a leaky tent.
After all, no-one is going to be in a good mood if rain has been dripping from the tent canopy onto your face since 3am, or dank muddy water has been seeping up through the groundsheet since midnight, leaving your sleeping bag disgustingly damp and making sleep almost impossible.
That’s why it’s important to ensure your tent is reliably waterproof – including learning how to re-waterproof a tent.
In this piece I’ll outline everything you need to know about how to waterproof a tent, as well as explain what makes a tent waterproof (or not so waterproof), including considerations such as material quality, fabric construction, tent shape and design, official lab-tested waterproof ratings, silicone and PU coatings, seam sealing, and other tent features.
I’ll add in loads of tips, tricks and advice so that this article should be a comprehensive guide on how to make a tent waterproof.
So, before I kick off, let’s start with some of the basics.
Tent waterproofing glossary

Hydrostatic head: This is the standard measurement of how waterproof a material is. It denotes water pressure and is measured in millimetres. Tent brands will usually outline the HH rating for both the flysheet and groundsheet.
A good baseline is about 3,000mm, which means a three-metre column of water can stand on top of the fabric before water penetrates it.
DWR: A ‘durable water repellent’ is a treatment applied to a tent’s fabric to make it waterproof. When a DWR wears off, it can be re-applied to make your tent waterproof again.
Silicone and PU (polyurethane) coatings: These are additional technical coatings added to tent fabrics to make them waterproof.
Seam sealing: This is the process for making the stitching in a tent waterproof, either by applying a waterproof tape or a liquid-based sealant to the seams
What affects how waterproof a tent really is?

There are loads of factors that impact how waterproof a tent is, including its shape, design, HH ratings, the quality and type of its coatings and DWR, and many other features. It’s a complex amalgamation of factors that will ultimately determine the effectiveness of its waterproofing.
The biggest indicator is the HH rating, and a higher rating will generally indicate a more protective and waterproof tent. Meanwhile, steep, well-angled walls will shed rain better and deflect it away from your sleeping area, and higher-quality, more expensive coatings will last longer and perform better.
A gap between the outer and inner – to stop the two layers touching - is important too. The thread count and tightness of a tent’s fabric can also affect its waterproofing qualities.
Why might a tent start leaking?

There are five main reasons why your tent’s interior is wet:
-
It's a badly-designed, cheap tent with poor HH ratings. Solution: Buy a new tent.
-
The tent is not actually leaking, but condensation is building up on the inside. Solution: Open all vents and unzip zippers to encourage airflow and ventilation.
-
The seams are leaking, because the tape or sealant has degraded over time. Solution: Re-seal the seams (or pay for a professional re-taping service).
-
Water is leaking through the flysheet. Solution: The DWR probably needs to be re-applied.
-
Water is soaking up from below through the tent groundsheet. Solution: The PU or silicone coatings probably need to be re-applied.
How often should I re-waterproof a tent?
Read most blogs online about how to make a tent waterproof and they’ll probably leave you with the impression that re-waterproofing a tent is a vital, regular task for all campers – a constant chore to keep on top of. That’s just not true.
A quality tent may remain water-tight for many years without requiring any maintenance, and – in truth – I’ve slept in some tents for probably 50 nights without ever doing any re-proofing, and they’ve faultlessly kept me dry.
Of course, the degradation of a tent all depends on how often you use it and what level of exposure it has to contaminants and severe weather. Similarly, if you do have the time and energy for tent management, regular cleaning, re-sealing and re-proofing can never be a bad thing.
But, for most campers, you’ll only ever need to think about re-proofing a tent once you notice it’s becoming leaky.
Step-by-step: How to waterproof a tent
So, you’ve decided your beloved tent needs a bit of TLC, and you’re ready to reinvigorate its levels of protection and waterproofing. This is everything you need to do, in order, with step-by-step guides, tips, tricks and advice.
Step 1: Clean your tent
This is an important step because contaminants can damage and degrade a tent’s fabric. Dirt and mud can be abrasive and damage a tent’s waterproofing qualities, while mould and mildew will give a tent a musty smell and create an unhygienic sleeping environment.
To do this properly, there are a few important steps to this process, so we’ve prepared an entire step-by-step guide on how to clean a tent. But to quickly summarise, you’ll need to:
-
Pitch the tent on a dry day
-
Remove loose dirt and debris
-
Wash the tent’s outer and inner fabrics
-
Rinse these fabrics with water
-
Let the tent air and dry naturally outside
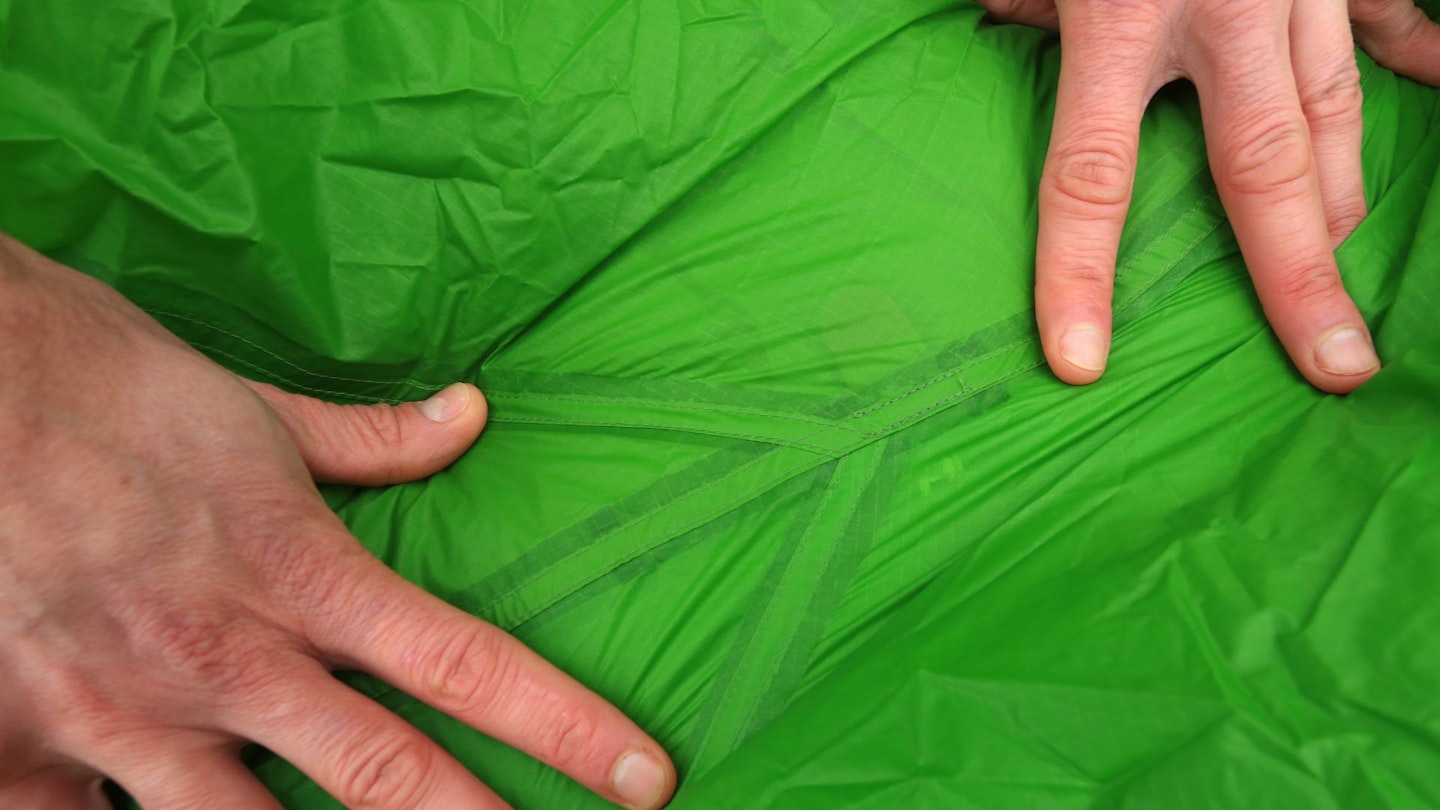
Step 2: Re-seal the tent seams
When tents are manufactured, different cuts of fabric are stitched together – these seams of stitches are made by (quite literally) pricking holes in the tent material with a sewing machine, so naturally they are a weak spot vulnerable to water leakage.
The solution to this problem is that most tent manufacturers (but not all) will waterproof the seams in their factories, making the seams water-tight and non-leaky. This means you can be assured your tent will be waterproof straight out of the box.
Confusingly, however, there are two main ways tent seams are sealed: seam taping and seam sealing.
Seam taping
This process involves applying a Sellotape-like tape of polyurethane to the seams. This is carried out in factories by tent brands, using specialist machines that can heat the tape to the right temperature and seal it over the seams. It’s a complicated, bespoke method and cannot be done at home.
Over time seam tape will often flake, tear and degrade, due to exposure to UV and other issues. This will compromise its waterproofing and require fixing.
Can you re-apply seam taping to a tent?
Generally speaking, seam taping is not suitable for a DIY approach – it’s not recommended. There are tutorials online explaining how to seam tape a tent using a household iron, but this approach poses a big risk of irreversibly damaging your tent’s fabric.
A better option is to pay for your tent to be professionally re-taped – brands such as Terra Nova offer this service. Alternatively you can apply a sealant to the seams instead of tape (see below).
Seam sealing
Seam sealing involves applying a layer of sealant (a specialist liquid, a bit like a glue) to the interior and exterior seams of your tent to create a waterproof barrier.
In the same way that seam tape can degrade over time, seam sealants can wear off over time and reduce in effectiveness. When this happens it’s time to re-apply the sealant.
How to apply a seam sealer
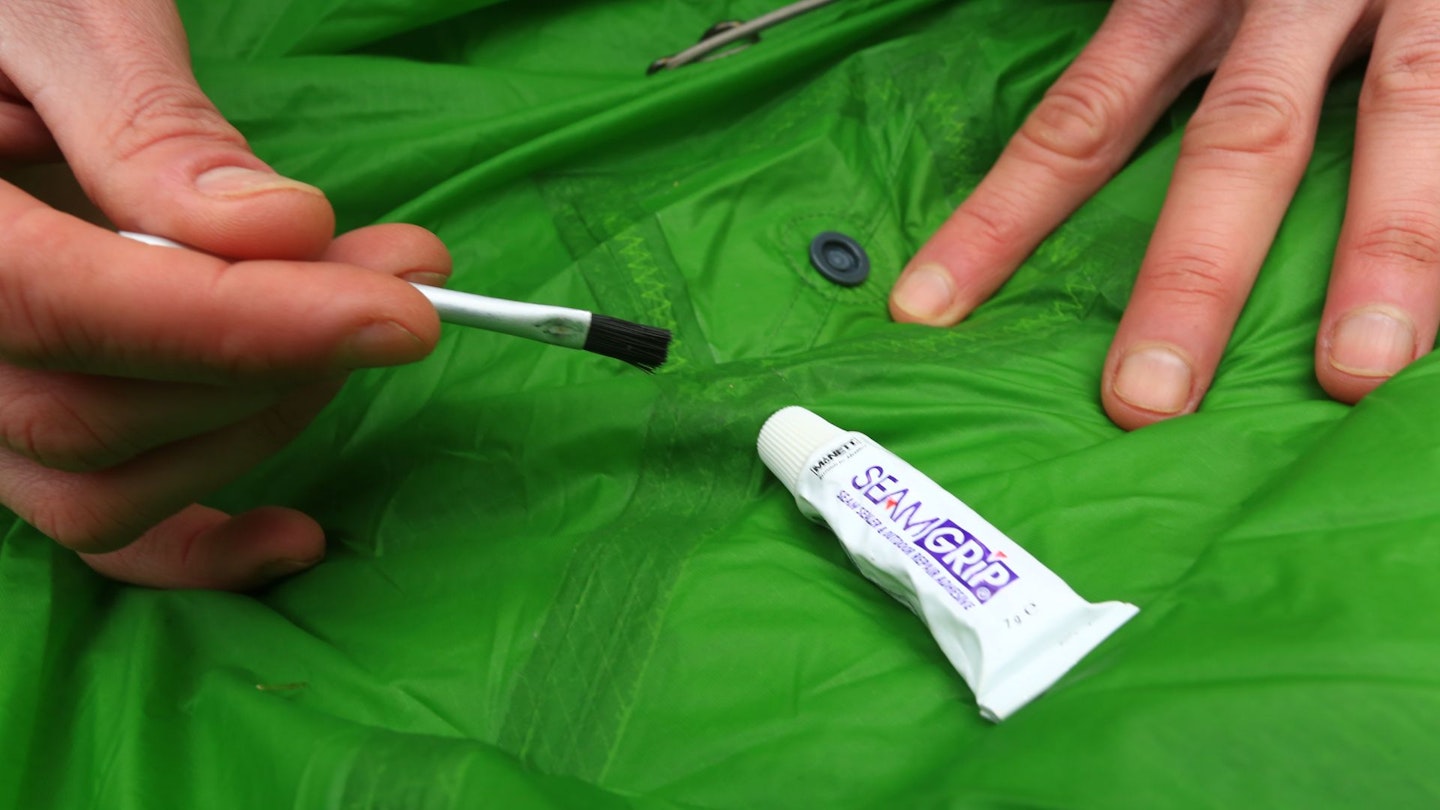
If you find a leaky seam, here's a step-by-step guide on what to do. First, you’ll need the following equipment:
-
A clean cloth or sponge
-
Rubbing alcohol
-
Seam sealer – a bespoke tent seam sealer product such as McNett Seam Grip
-
Small brush – often the bottle of seam sealer will include a small, soft-bristled brush for applying and spreading the glue-like sealant to the seams
-
Kitchen roll or a dry cloth for spillages
Tip: Ensure you have the right type of sealer for your tent. Tents with a silicone-treated fabric require a different sealant type than tents with a PU-coated fabric. Gear Aid Seam Grip SIL Silicone Tent Sealant, for example, is used for silicone nylon tents, while McNett Seam Grip is suitable for PU-coated polyester or nylon tents.
Then, follow these instructions:
-
Pitch your tent in a dry, sunny location, or lay it out on a flat, dry surface
-
Ensure the tent is perfectly clean and dry
-
Examine all existing seams
-
Remove any flaking or damaged seam tape (if relevant)
-
Prepare the seams by gently cleaning them with a cloth and rubbing alcohol
-
Apply the correct sealant using a small brush, following the instructions on the bottle
-
Generally speaking, focus on the seams on the underside of the flysheet and any other seams on the inner and groundsheet, but on some tents you can also apply sealant to exterior seams
-
You may choose to only re-seal any faulty or leaky seams, but many campers decide to re-seal the entire tent – once you’ve started, you might as well do a full job
-
Ensure ample time is given to allow the seam sealer to dry out thoroughly – leave it for about 6 hours or ideally overnight
-
Carry out a test by spraying your tent with a hose – all being well the seams should now be water-tight
Step 3: Re-apply PU and silicone coatings
If there are signs that the polyurethane or silicone coatings of your tent are degrading (you might be able to see flaky fragments of the coating peeling off the fabric), then it’s time to re-apply them. Here’s how to do this, with step-by-step instructions.
-
Lay out your tent on a flat, dry surface
-
Make sure the tent is clean and dry
-
Carefully remove the flaking fragments of the old PU or silicone coating, using a brush
-
Using a sponge or cloth and rubbing alcohol, further remove the old coatings
-
Apply a new layer of the PU or silicone coating to the tent fabric, carefully following the instructions on the bottle
-
Allow the tent to fully dry, ideally outside in warm, dry and mildly breezy conditions
-
Test the effectiveness of your re-application using a hose spray
-
Re-apply the coating again, if needed
Remember: You’ll need to know in advance whether your tent has a PU or silicone coating. This is because PU tent fabrics require a different type of coating solution than silicone tent fabrics. The coating bottle you need to buy will sometimes be called a 'tent sealant'.
An example of a PU re-application product is Gear Aid Seam Grip TF Tent Fabric Sealant, which comes with an in-built foam applicator brush.
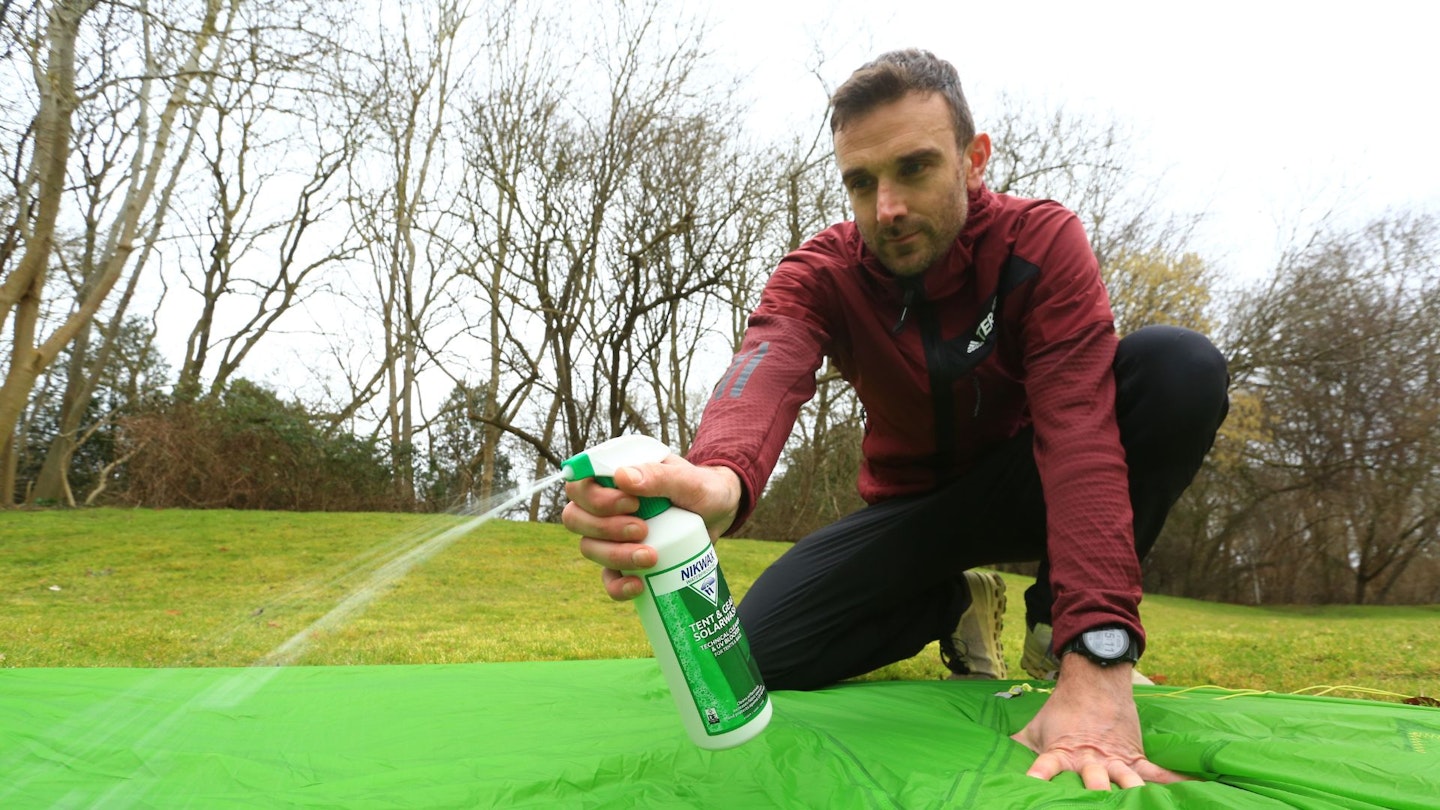
Step 4: Re-apply the DWR coating
The final task and, perhaps the most common one overall, is to re-apply the DWR waterproof treatment to your tent’s outer flysheet. This is a similar process to re-applying a DWR to a waterproof jacket, which you may have already attempted in the past.
Of course, you can’t put a tent in the washing machine, so there are some crucial differences in the process. Here’s how to re-proof a tent and re-apply the DWR to a tent flysheet.
-
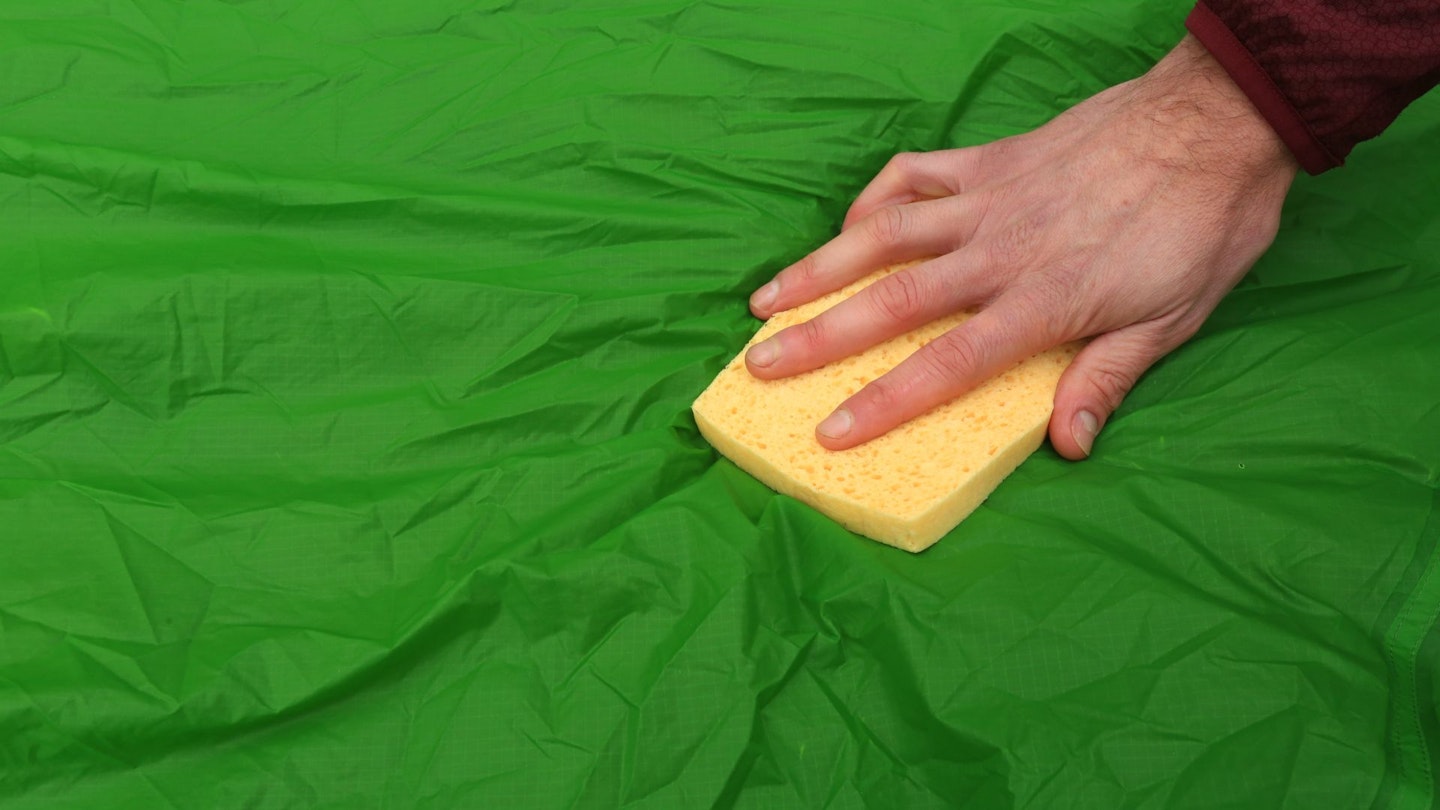
Lay out your tent flysheet on a flat, dry, well-ventilated surface
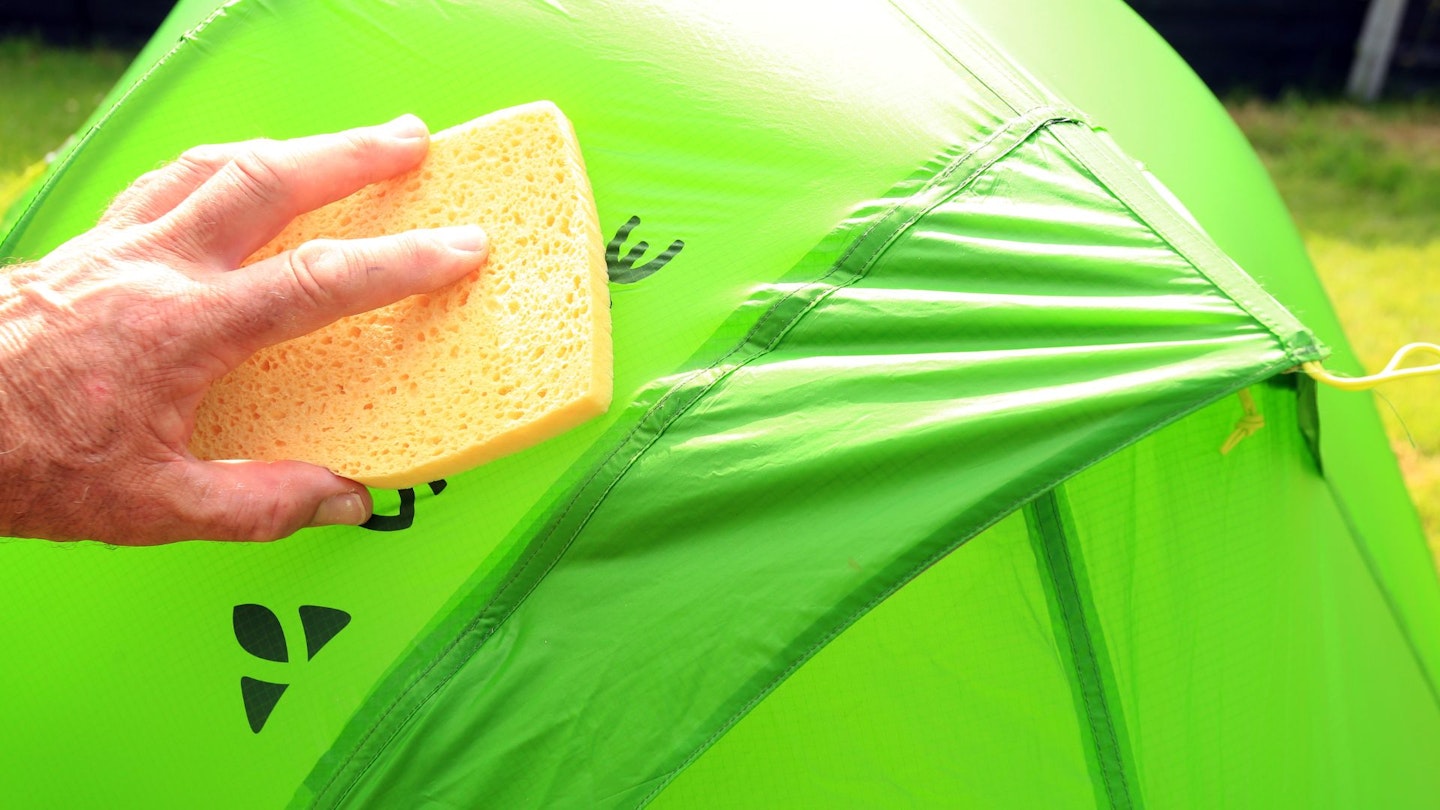
-
Clean the surface of the flysheet with a wet sponge, using water or water with a tent cleaning product
-
When the tent flysheet’s fabric is clean, you don’t need to wait for it to dry – you can just leave it wet
-
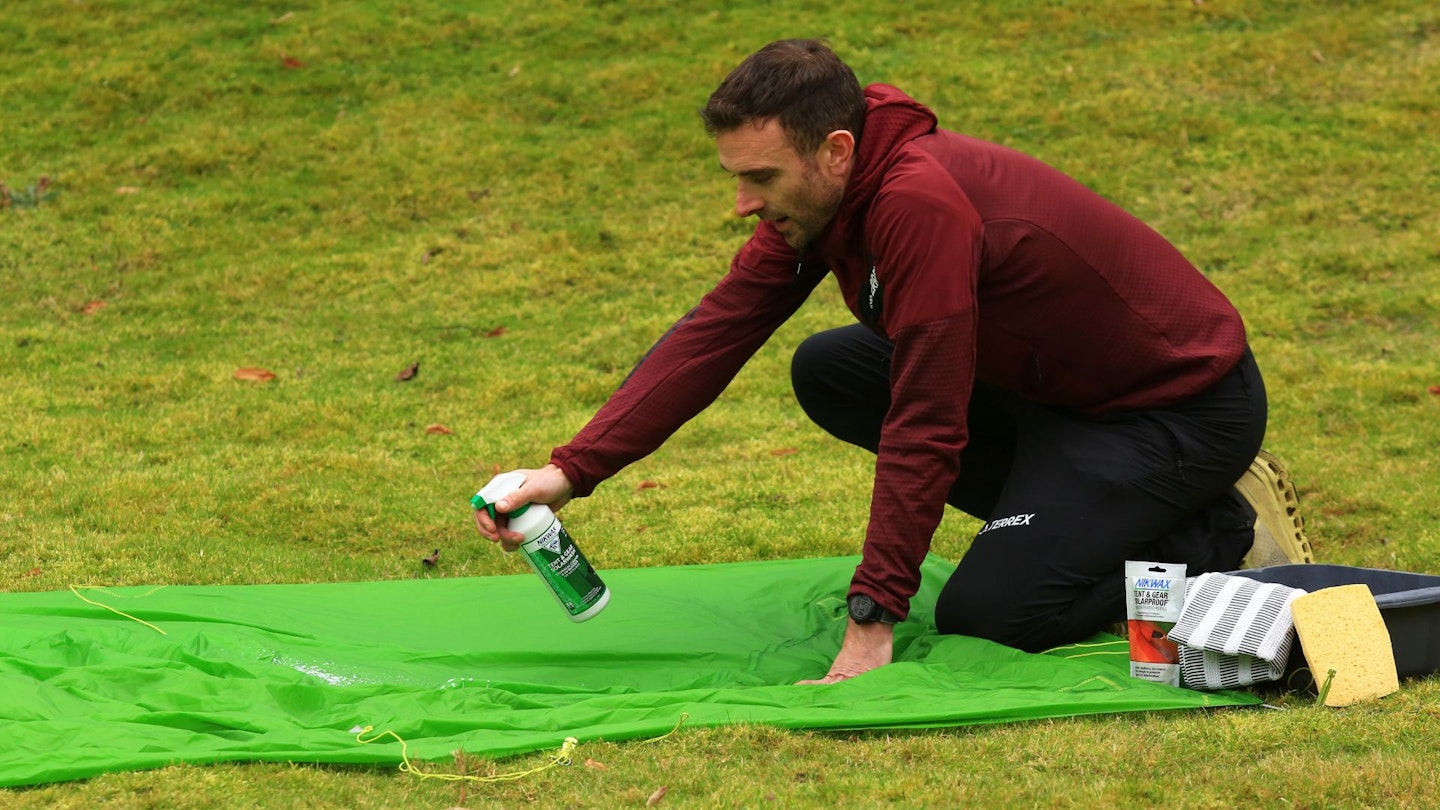
Spray on a DWR tent solution, carefully following the instructions on the bottle – make sure the DWR has been applied evenly and generously across the entire flysheet
-
Products you can use for this purpose include Nikwax Tent & Gear Solarproof and Grangers Tent + Gear Repel
-
Use a dry cloth, sponge or kitchen roll to mop up any excess DWR solution left on the flysheet
-
Leave the tent to dry out thoroughly
About the author

Over the past decade James Forrest has spent well over 200 nights in a tent, wild camping in remote places in backpacking tents during his big hiking adventures – including a three-year mission to climb all 1,001 mountains across England, Scotland, Wales and Ireland.
More recently he spent 30 consecutive nights in a tent in 2023 while walking the 700km Alpine Passes Trail across Switzerland, and in August 2024 he wild camped 23 times during a month-long hike of the 1,014km South West Coast Path.
Or, in other words, he knows a thing or two about the challenges of staying dry inside a tent, and is well-placed to write this article.