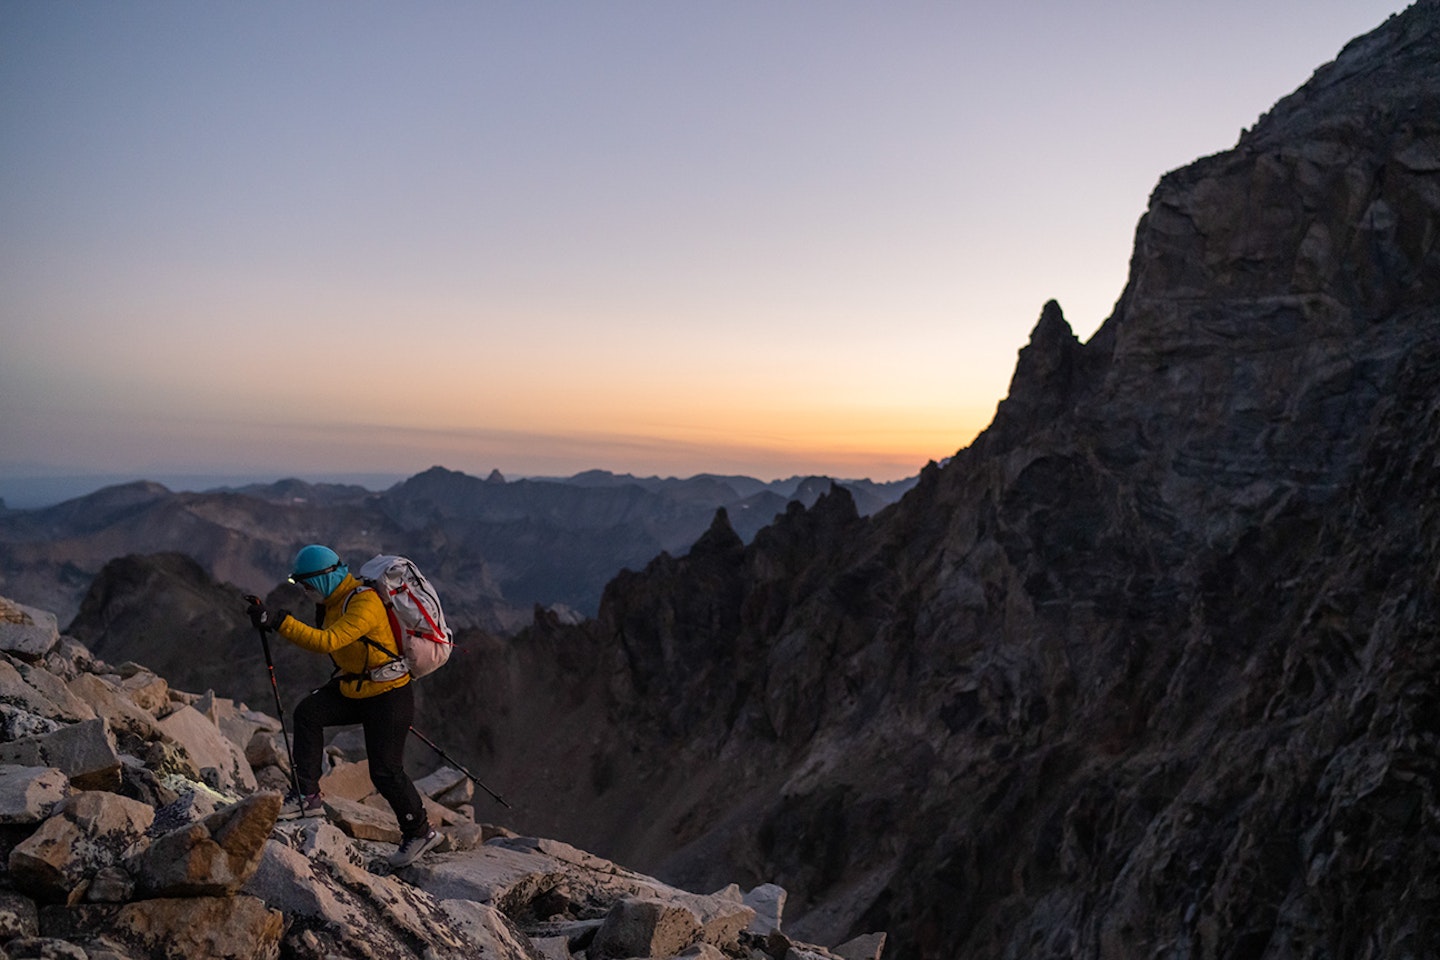
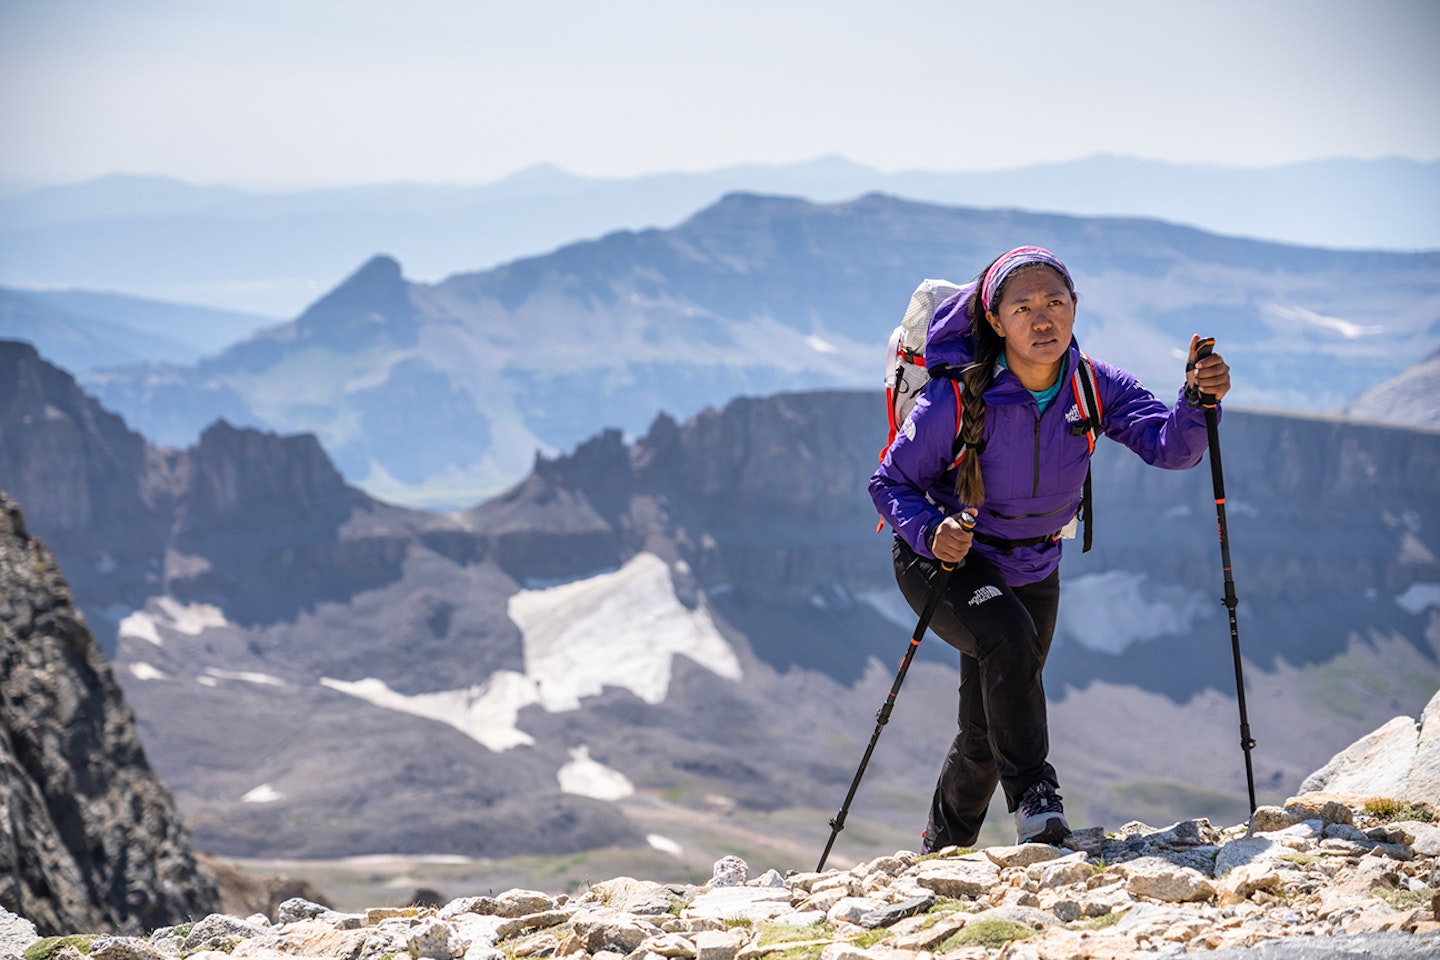
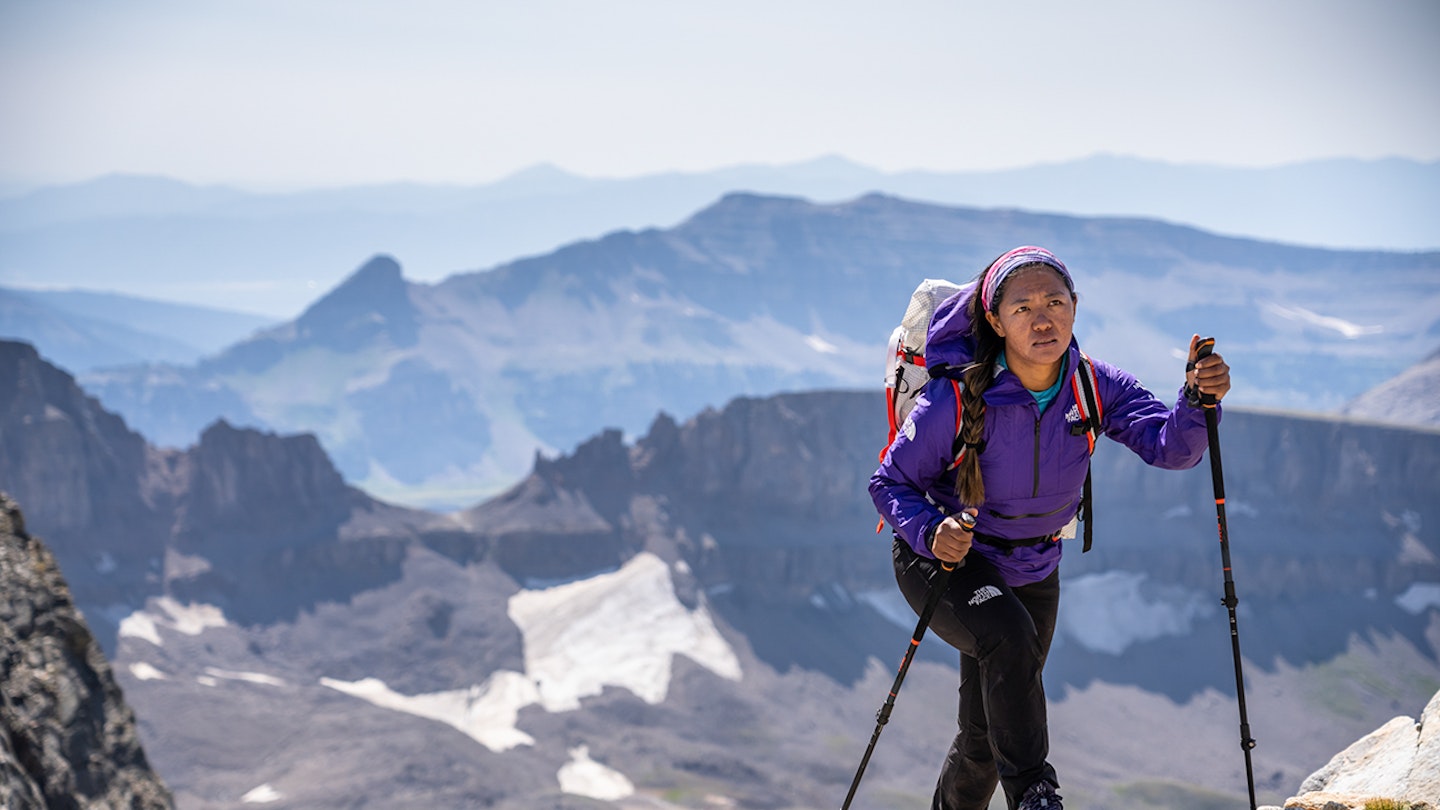
Trekking poles are a useful addition to your hillwalking kit when carrying heavy loads, walking long distances or crossing steep slopes.
They can reduce wear on your knees, hips and other joints as well as reducing fatigue at the end of a hard day’s hiking. They can also offer stability in bad weather, on unstable ground or when crossing streams and bogs.
These benefits apply whether you’re hiking in the hills, trekking in the mountains, walking a long-distance trail, practising Nordic walking or going trail running. That’s why walking poles are a key hiking accessory, used by both professional athletes and leisure users alike.
But the why, when, and how of poles for outdoor activities is often overlooked. We caught up with expert James Moorcroft from leading pole brand LEKI to find out more about the benefits of walking poles, when you need them, and how to use them properly.

Why should you use trekking poles?
James explains: “The benefits of using poles are numerous. They help prevent injury, they offer stability, and help improve posture. You will experience better breathing, less fatigue, and more power and speed. Using walking poles reduces the impact on your knees and feet”.
Want proof? Again, James has a great tip. “Jump on your bathroom scales – and then again with your walking poles. Pushing down with normal force, you’ll see the numbers tumble by an average of 20%. This weight is taken by your arms.
“So, if every pole hitting the ground removes 20% of your weight from your feet, just imagine how great your legs are going to feel after 20,000 steps on a trail. For the average man, travelling one mile using walking poles removes the equivalent weight of five elephants!
"And because your legs feel great, you’ll be able to spend more time doing the important things; enjoying the view, chatting, laughing, eating slightly bruised bananas… and the next day, your legs will thank you for it.”
When should you be using walking poles?
Poles are a versatile bit of outdoor kit. To maximise their benefits, you can use them right from the start of your walk, even on level or moderate ground.
As James says: “If you only use them on the uphill or downhill, they’ll end up staying in your bag all day. Then the benefits they bring are either reduced significantly, or they become an expensive accessory strapped to the outside of your pack. To feel the real benefits, we recommend using them every step of the way.”
The only time that it might not be appropriate to use poles is on particularly challenging terrain. Store them away if you’re moving across potentially dangerous terrain.
CLICK HERE to see a roundup of LEKI's top trekking poles

How to use walking poles effectively
Adjusting the length of the pole for your height is important, because it ensures you’re able to use the right technique, avoid falls, and provide optimal power transfer. Hold your hands by your sides with your elbow at 90 degrees. Then measure the distance from your hand to the ground. This will give you an idea of how long your poles should be.
1. Set them up correctly
The first step is to ensure your poles are set up at the right height. James explains: “You want a right angle at the elbow”. Unfold the poles and lock each section securely in place, adjusting the length as required.
2. Use the strap
Next, pass your hand up through the strap and grip the grip, so the strap sits between hand and grip. This allows you to push down on the strap with the base of your hand, without needing to grip the pole tightly.
3. Find your rhythm
Now push down firmly and walk. The left hand hits the ground with your right foot, right hand left foot, and so on. James advises: “Keep the pole angled slightly backwards so you can feel yourself propelled forward. If you keep this up for your whole walk, you’ll get to the end and feel like you could do it all over again.”
CLICK HERE to see a roundup of LEKI's top trekking poles

The key parts of a walking pole
Grip: The grip should fit comfortably and securely in your hand. Grips are usually made from sculpted foam rubber or natural cork. For more demanding hillwalking and mountain treks, look for an extended grip. This allows you to ‘choke down’ on the pole when going uphill.
Wrist strap: When used properly, the wrist loop takes most of the load, so you don’t have to hold the grip as tightly. It also ensures you don’t drop the pole down the mountainside. Loops are usually made from breathable webbing and may be padded for additional comfort.
Shaft: Walking poles are usually made from tubular sections of aluminium alloy or carbon fibre. Carbon poles are extremely lightweight yet stiff but tend to be more expensive. Aluminium poles are known for their durability, being less likely to shatter than carbon.
Tips: Poles have an extremely hard carbide tip to ensure long-lasting performance. If you need to use the poles on tarmac or hard-packed trails, most poles include rubber feet to absorb noise and impact.
Baskets: These little round discs near the tip stop the pole from sinking too deeply into soft terrain.
Design: Most poles fall into two categories: Z-shaped folding poles or telescopic poles. Z-shaped poles collapse into thirds, ensuring a very compact folded size that’s ideal for stowing in a backpack. Telescopic poles slide into themselves, which is a simpler design. However, they’re usually longer when packed away, and may need to be attached to the outside of your pack when not in use.
Locking system: Some poles lock together via a twist-lock mechanism, while others have a clamp or lever style lock. You can usually also use these levers or locks to adjust the pole length. Both types of poles need drying after use to prevent corrosion caused by internal moisture build-up. The lever mechanism is popular, as it’s quick and easy to use, and appears not to succumb to operating problems easily, but it can snag on undergrowth.
