It’s often said that the best camera is the one you have with you, and in the modern age of smartphones we always have one with us.
Learn how to get the best from the camera in your pocket with these 10 tips to improve your smartphone photography.
Smartphone photography tips
Check your settings
To preserve storage space in your phone’s memory, the default setting for photos may not produce the highest quality images. Ensure you’re making the most of your phone’s sensor by selecting the highest resolution. Note that this may also mean changing the ratio. The 16:9 wide setting may look good, but it’s probably just a cropped version of your phone’s full potential.
Use the screen guides
The beauty of a high-quality screen on a smartphone is that it gives you lots of information as you’re taking the photo. Tools like an overlaid grid or a level indicator can really help you compose your shots and avoid wonky horizons.
Check the focus
The other thing the screen allows you to do is be 100% sure that the main subject of your photo is in focus. You can usually select the focus point by tapping the touchscreen on the exact spot you want the focus, but it’s always worth checking the photo afterwards to make sure the phone has followed your instructions.
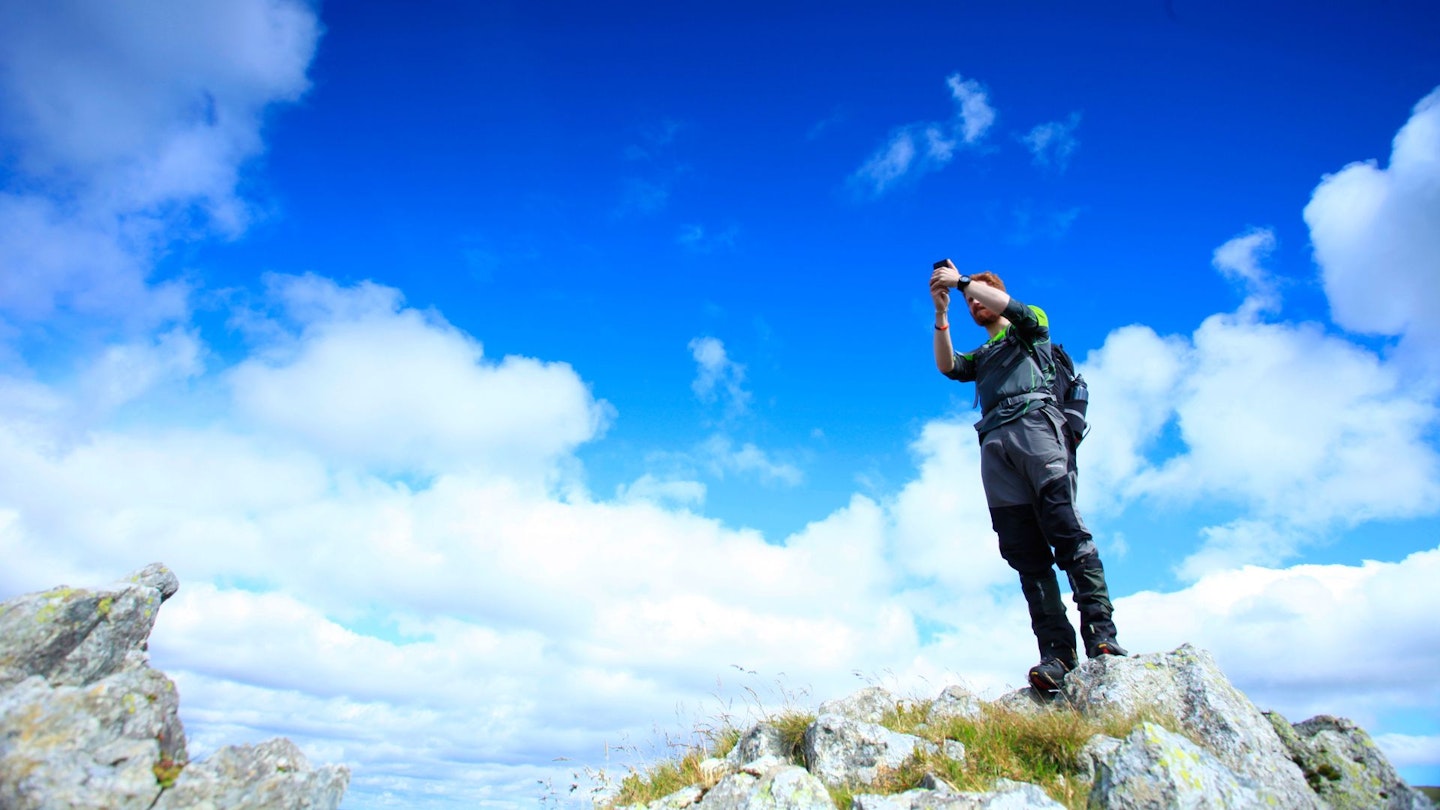
Explore modes and functions
The technology built into smartphone cameras is increasingly clever, meaning that your phone may have a better idea of how to capture a great photo than you do. Experiment with the different modes your camera offers – such as portrait or night modes – and play around with other functions, such as adjusting the brightness and contrast sliders to see what effects these have on the image you’re shooting.
Keep the lens clean
The lens on your smartphone camera is small enough that a careless smudge, speck of dust or droplet of rain can spoil or even completely obliterate your shot. A small lens cloth, such as the kind that comes with a pair of glasses, is ideal for keeping the lens clean and your images sharp.
 1 of 1
Zeiss Microfibre Cloth
A great way to clean any optical equipment is by using this 30cmx40cm cloth to remove dust and fingerprints. Zeiss is a leading producer of camera lenses.
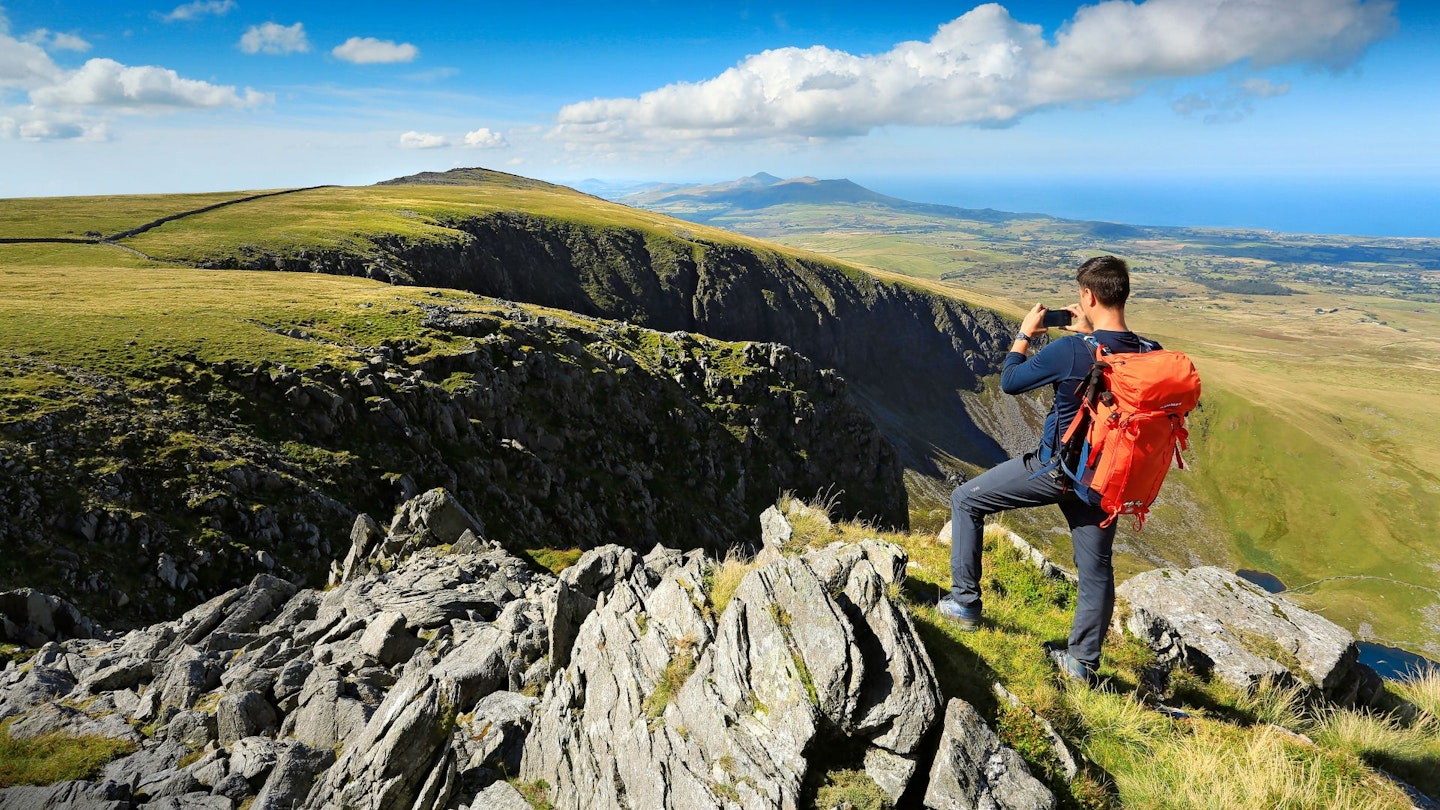
Change your angle
Make the most of the lightweight portability of your phone by experimenting with angles. Instead of just holding your phone out in front of you, try getting it low down to the ground, or holding it high above your head to find different viewpoints. By all means make use of a ‘selfie stick’ but be aware that these things can really annoy other people on a crowded summit.
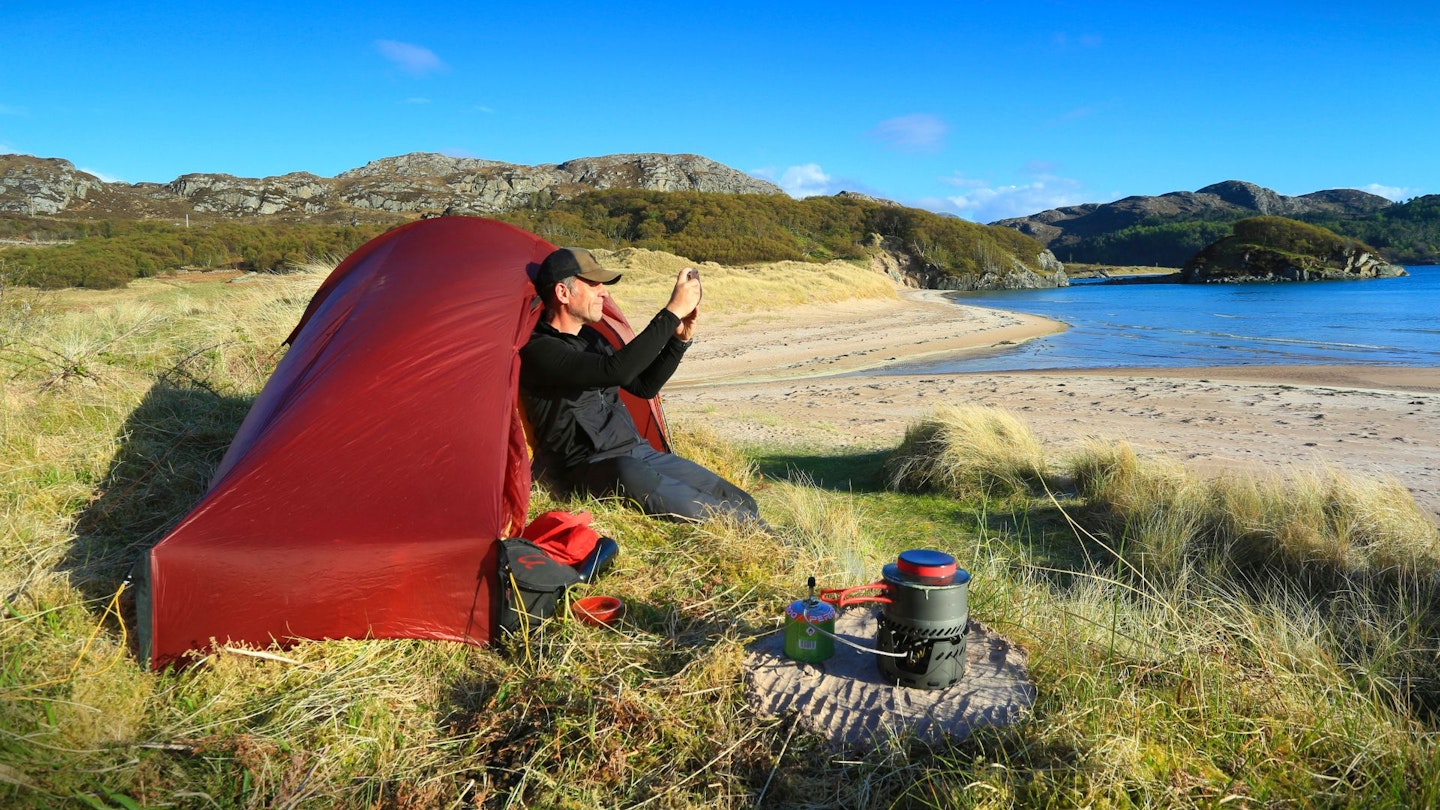
Use a tripod
There are times when your smartphone might benefit from being attached to a tripod. The stability of a tripod will really help when capturing night or low-light shots, because it reduces the chances of capturing a blurry image. It’ll also allow you to make use of any time-lapse function your phone has, and to shoot yourself as the subject in your image. It doesn’t have to be a big or heavy tripod – there are plenty of pocket-sized tripods for phone use you can pop in your pack.
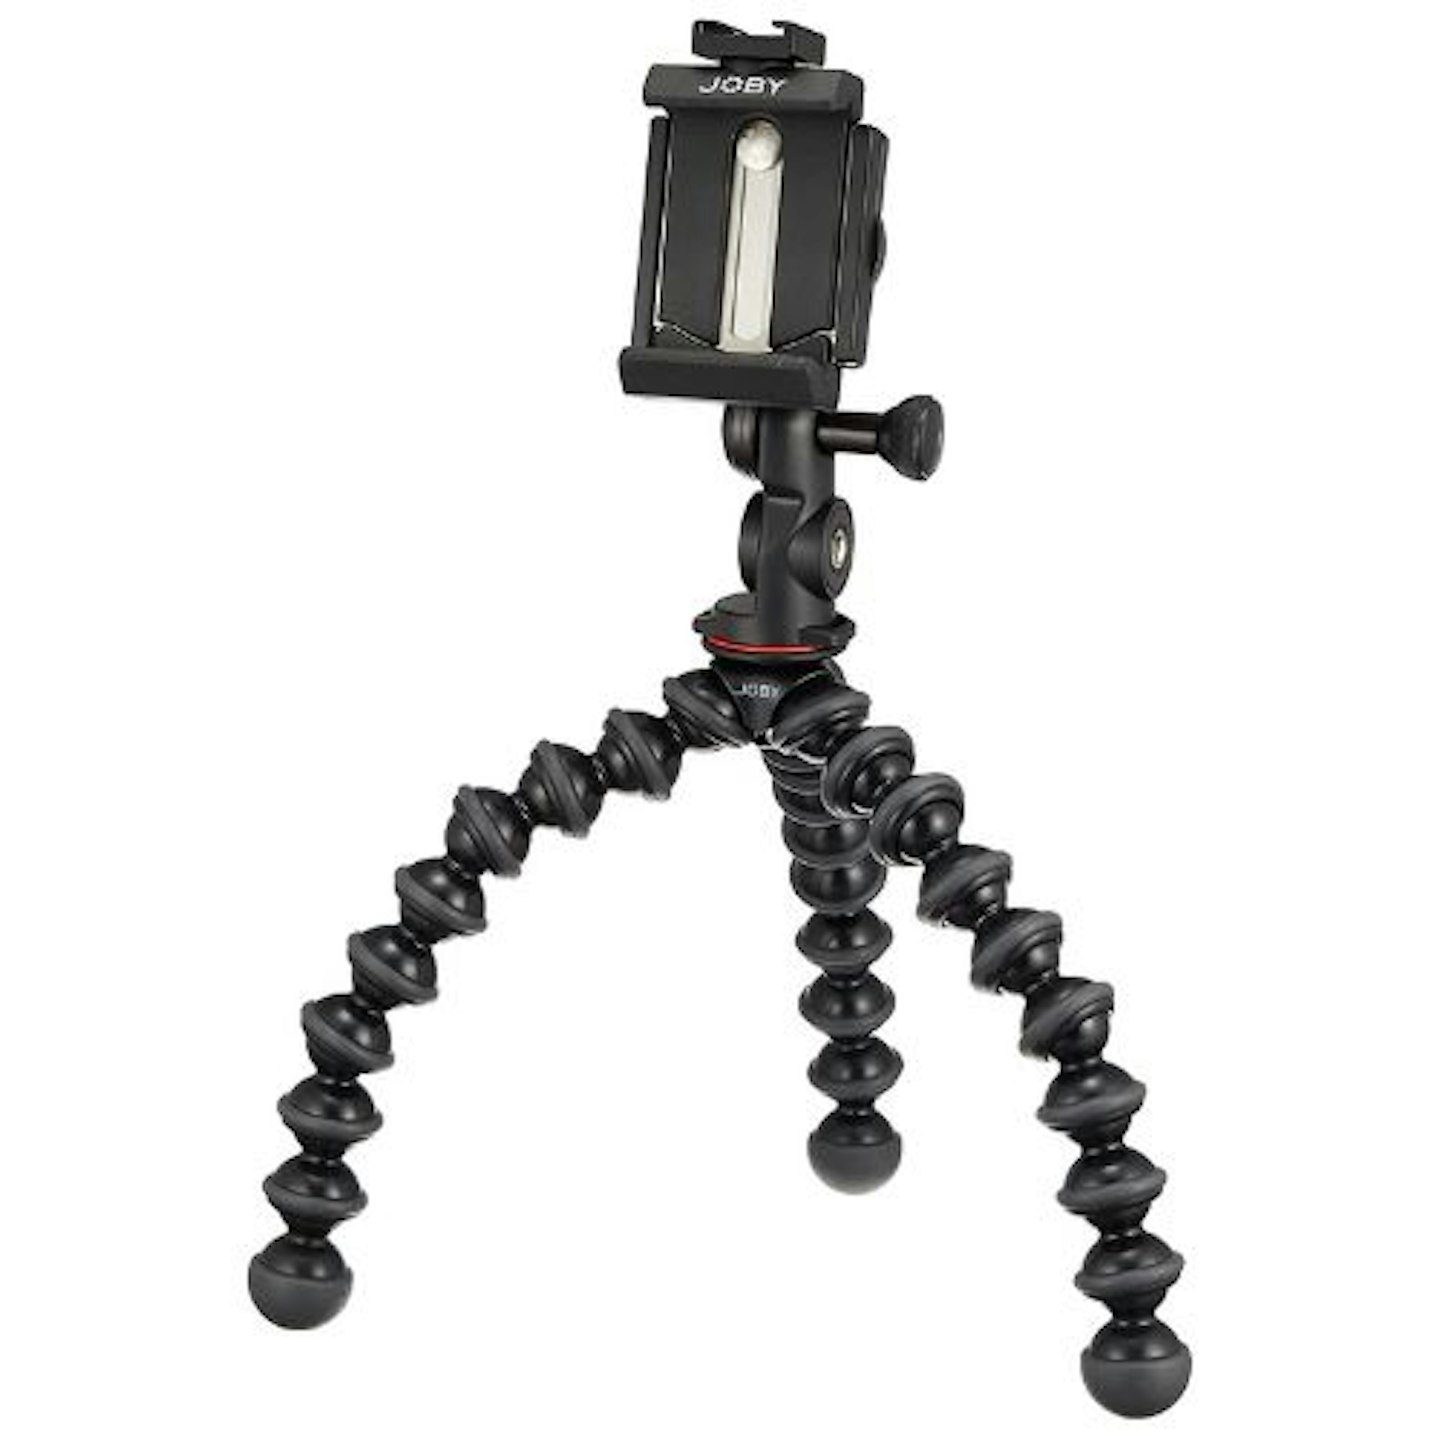 1 of 1
JOBY GripTight PRO 2 GorillaPod
The GripTight Pro 2 GorillaPod is such a handy phone tripod for outdoors. Its legs are completely flexible, so you can always get a stable stand, or even have it grip a branch if you want. It weighs 282g and is only 34.3cm long.

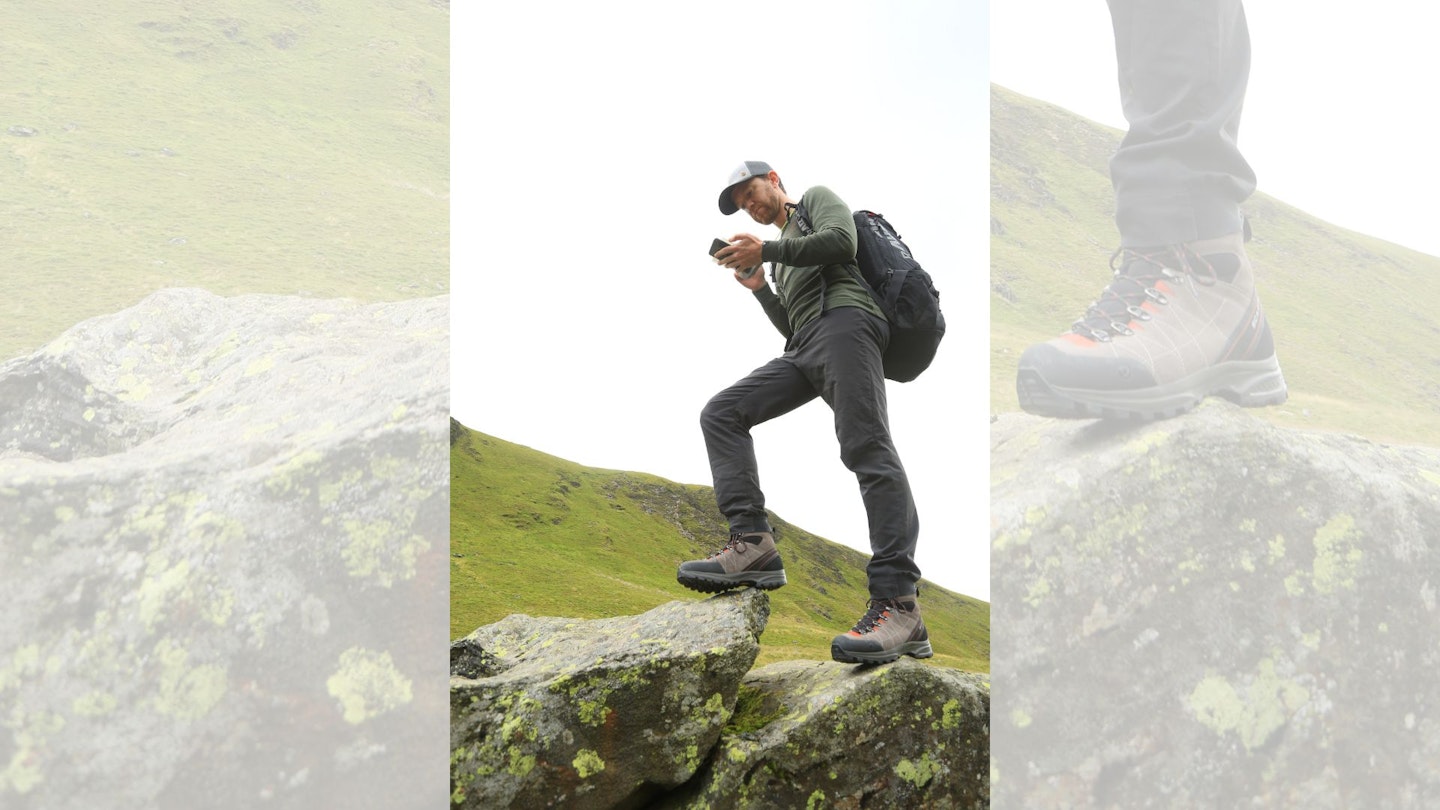
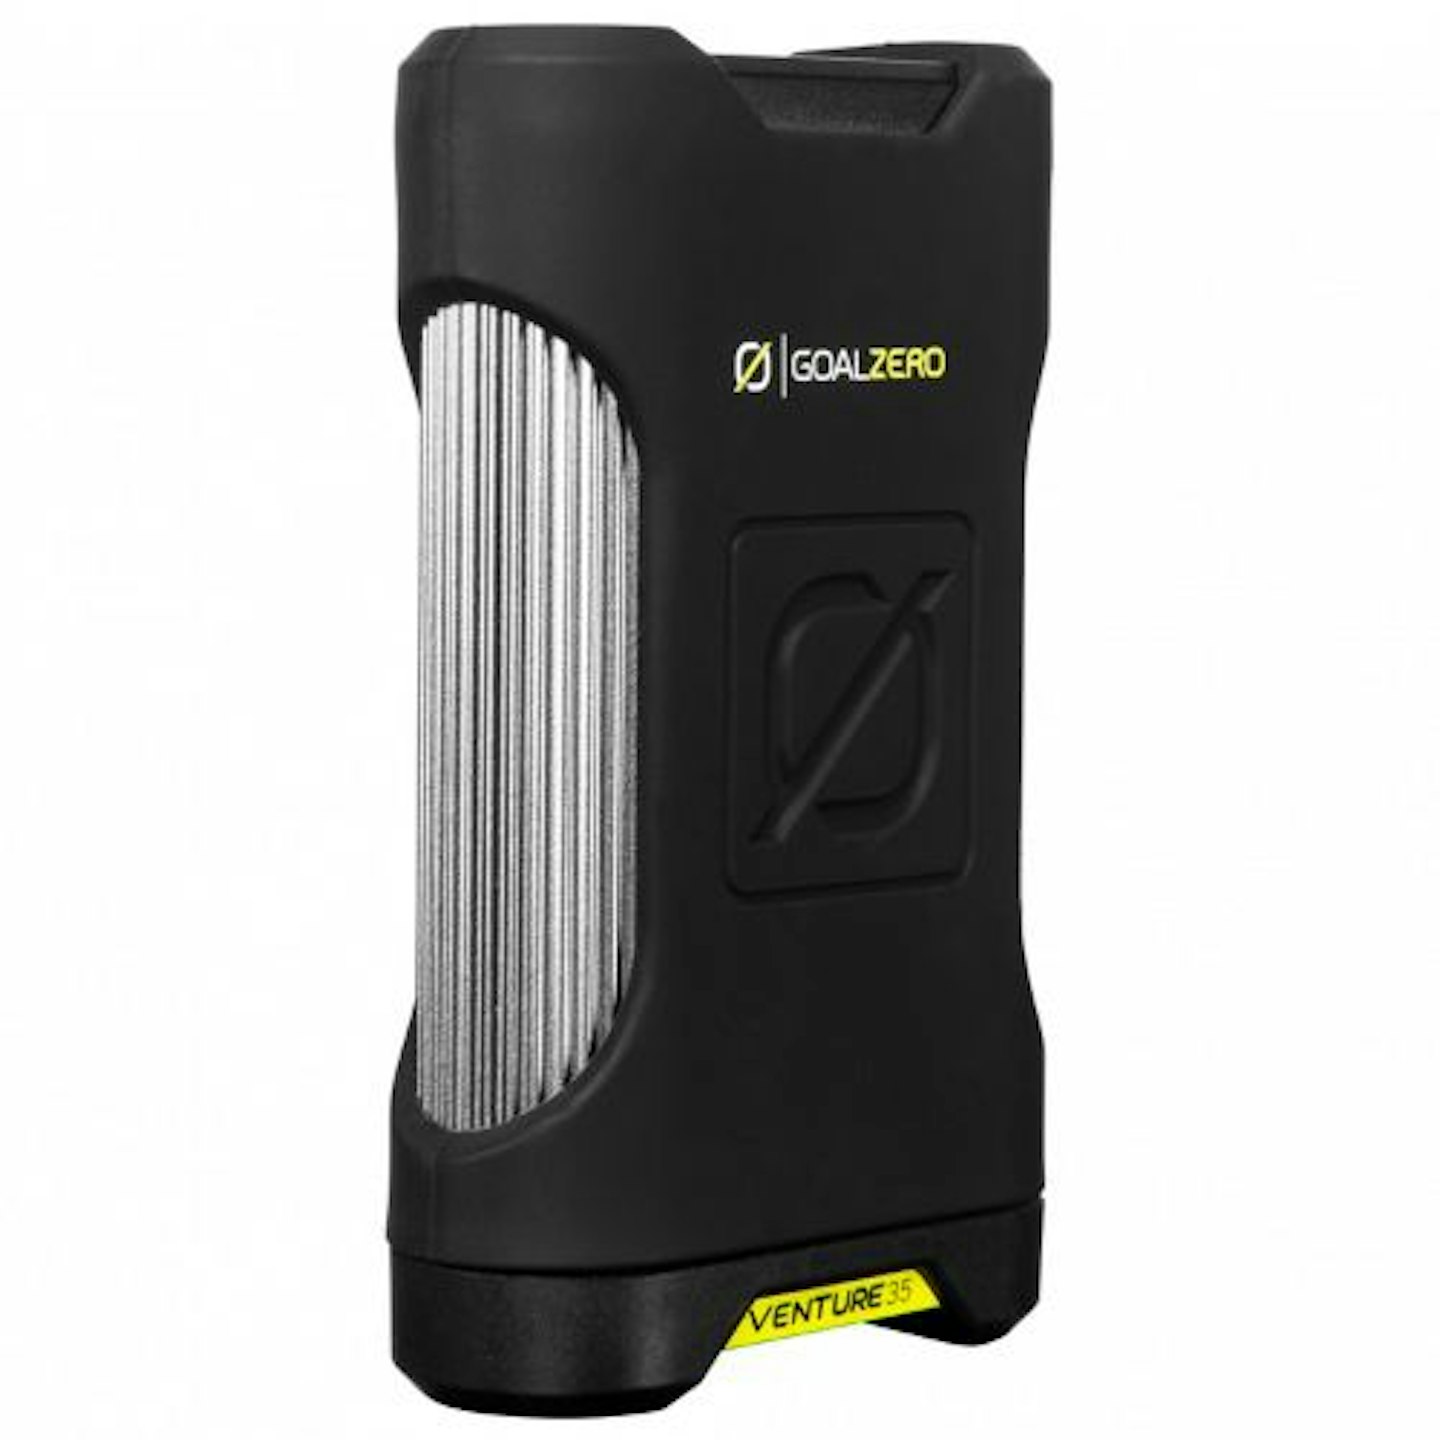
Carry some power
It’s important to remember that the most critical job your phone has in the hills is to summon help if it is needed. If you’re also using it for taking photos and perhaps navigation, that could be a big drain on the battery, so it’s worth carrying a portable power bank to provide extra juice if needed.
 1 of 1
Goal Zero Venture 35
The Venture 35's bigger sibling, the Venture 75 is our overall favourite power bank for hiking. But the Venture 35 is smaller, cheaper, and still IP67 rated and has a decent capacity (9600mAh).
Get an editing app
For many photographers – even those using smartphones – capturing the image is just the start of the process. Your phone may come with the ability to make basic edits, but there are lots of easy-to-use photo editing apps available (Snapseed is one of our favourites), which can help bring an image to life and give it some extra punch.
Back up
You never know when you might want to view or use the photos you’ve taken again, so it’s worth backing them up somewhere in order to free up space on your phone. While free Cloud-based back-ups ensure your photos are saved, they don’t always do so at their original resolution. If it’s important to keep the photos in their highest quality, you may need to pay a subscription to a Cloud storage service or invest in a hard drive.