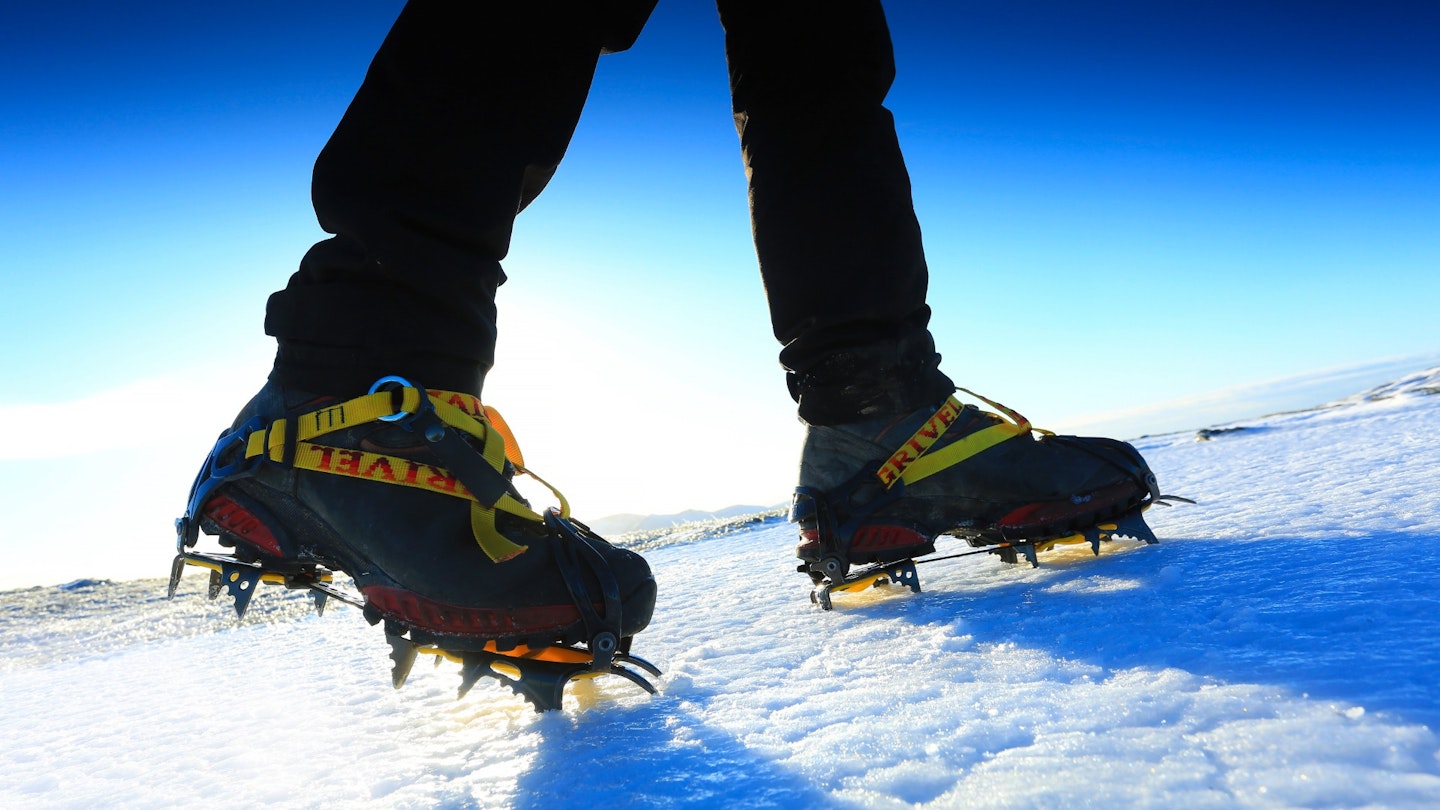
Crampons provide exceptional grip in snow and ice, but when should you put them on and what’s the best way to use them? Mountaineering instructor Rob Johnson walks us through it.
When to put on crampons
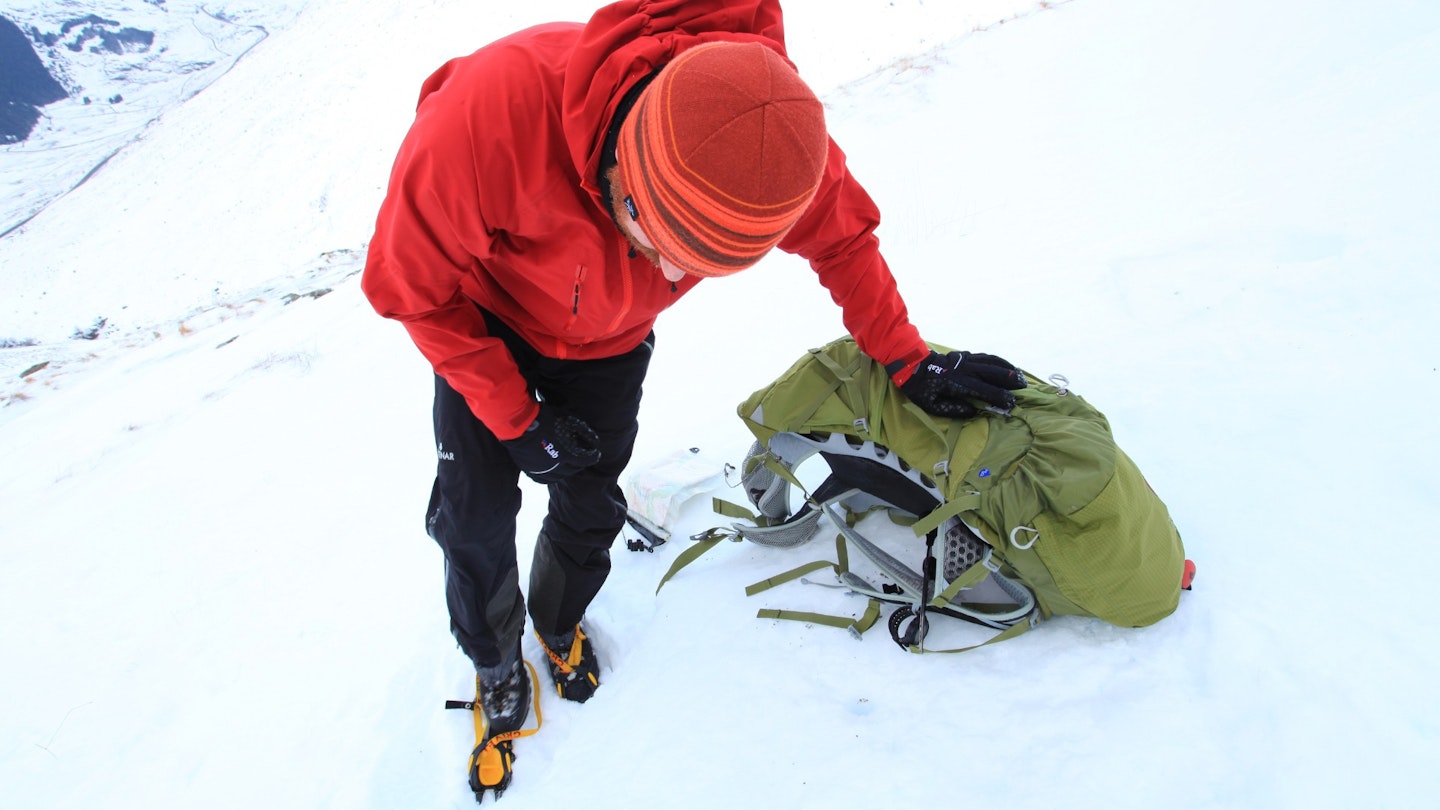
When walking becomes difficult
If your boots are starting to slip then you will benefit from wearing crampons. It’s as simple as that. We humans are inherently lazy, so there is a tendency to leave putting them on as late as possible. This is fine, until the consequences of a potential slip become serious.
On or near steep ground
Once you’re anywhere near steep ground then a bit of anticipation with where you put your feet is a good idea. If you have good traction but the possibility of a slip is high, then consider putting your crampons on as a preventative tool.
When going downhill
It’s common to stroll uphill with no problem at all and then find that going down is much more difficult – partly due to gravity and partly because the snow becomes more compacted as the day goes on, and so gets more slippery than it was in ascent. I normally wear my crampons for a greater part of the descent than the ascent for this reason.
How to put on crampons
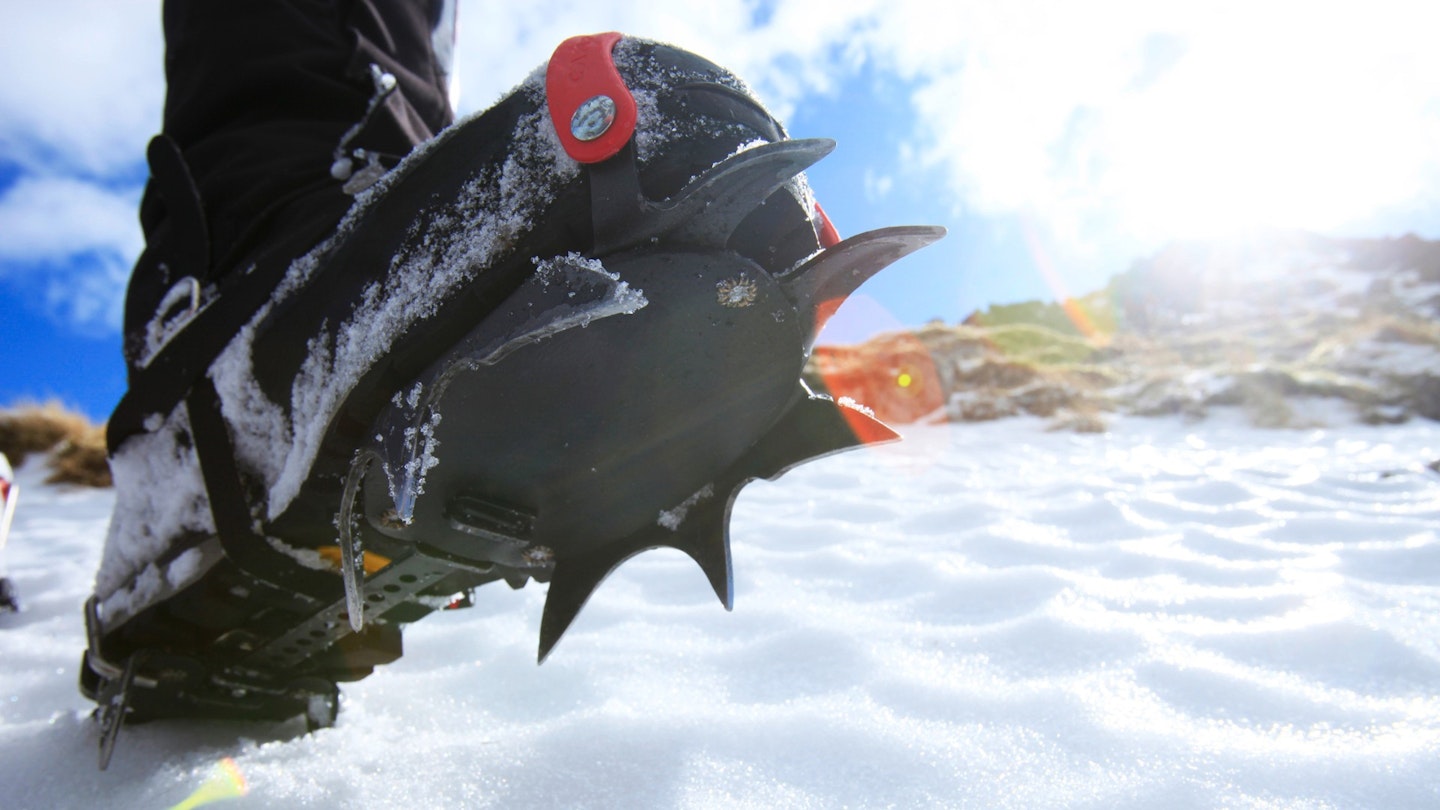
Use flat ground
Try to get into the habit of putting your crampons on while on flat ground. If you’re on a slope then cut a ledge in the snow to create a level platform to work on. This will help you maintain balance and be much less likely to go sliding off down the hill.
Secure your kit
Make a platform big enough for you and your kit. Practise fitting crampons while wearing gloves, as being able to do this will help you avoid frostnip in really cold temperatures.
Don’t sit
I like to see people putting on crampons from a standing or kneeling position if on a slope rather than sitting in the snow, where the risk of a slide is much greater.
How to walk in crampons
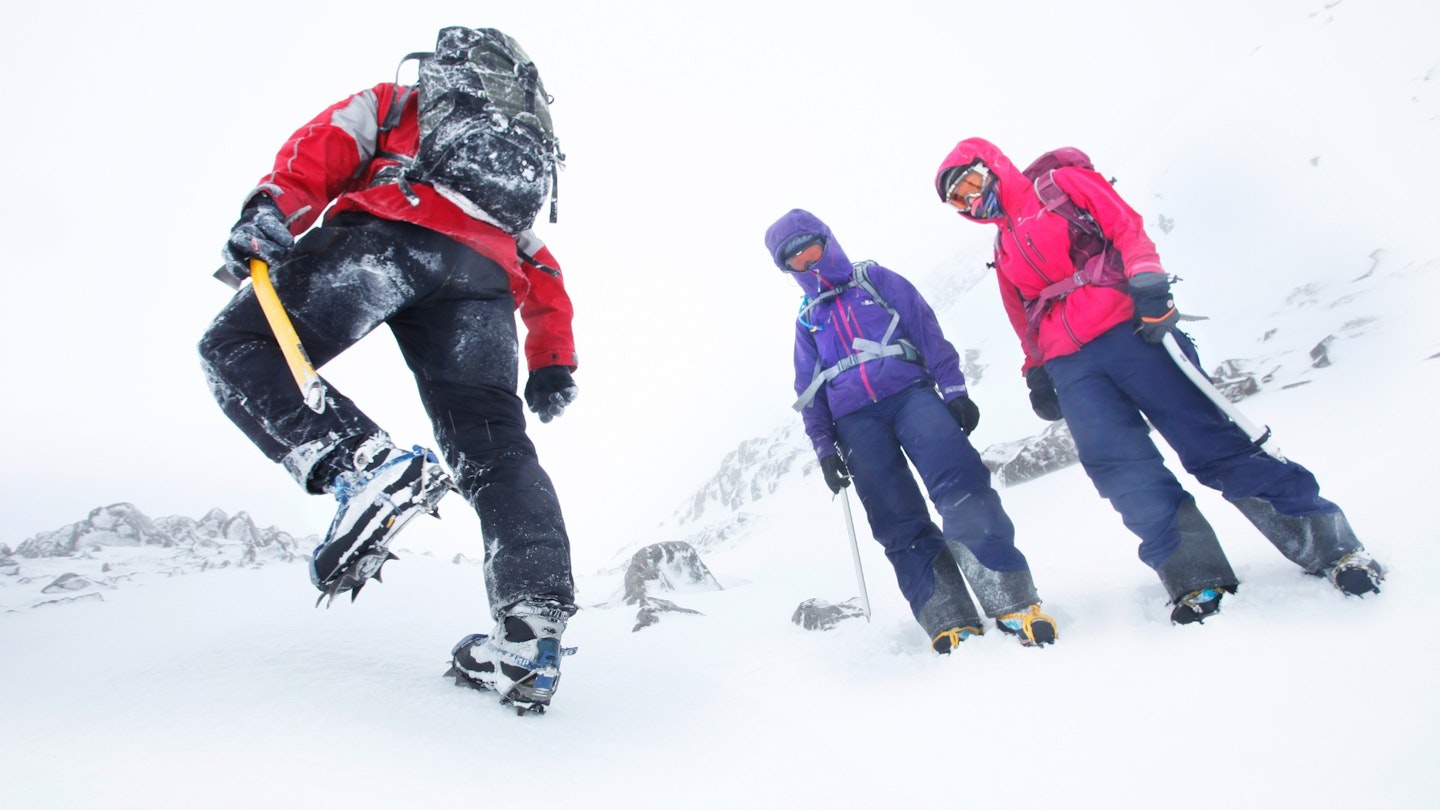
Get used to walking with your feet slightly wider apart to begin with, making a conscious effort to avoid snagging your trousers or boots. Make sure there are no loose bits of fabric flapping around, and tuck your crampon straps away neatly into the outside of your boot.
Crampons work best when all of the downward pointing spikes are in contact with the snow. This is called ‘flat footing’ and it is a skill that takes practice – especially as the slope gets steeper.
On steep ground, the slope may reach an angle where it is not possible to walk with both feet flat on the ground. Here you will need to use the front points or a combination of one foot flat and the other front-pointing.
Practice these techniques somewhere safe with no consequences of a slip, and try to play on a variety of angles and snow textures. The firmer the snow, the more exact you will need to be with your technique. You will find that ascending and descending require differing styles and flexible ankles. Remember though, the key to all of it is those downward facing points need to be in the snow. If you’re edging across a slope and half of your points are visible, they won’t be working properly for you.
How to match crampons and hiking boots
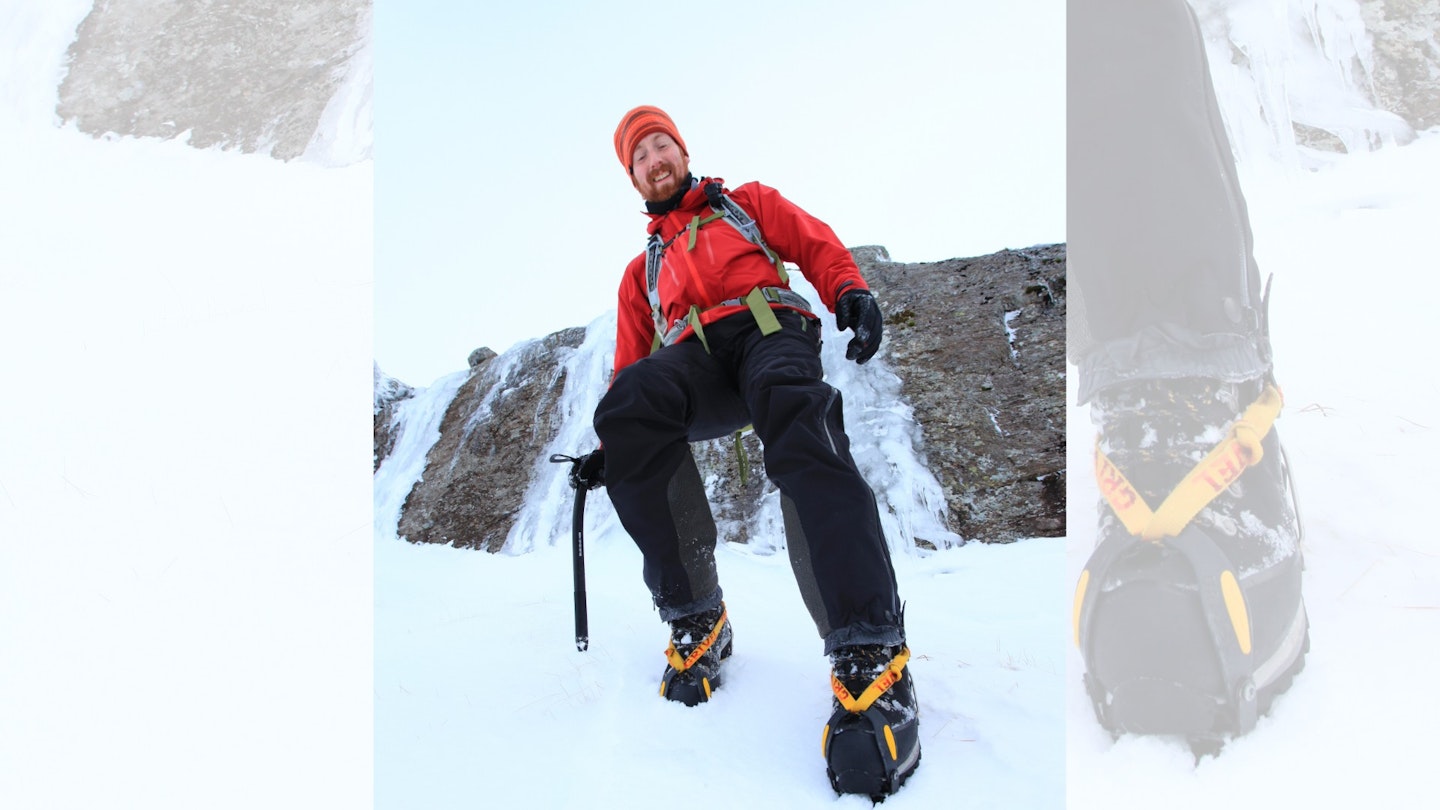
Crampons come in three grades: strap-on C1, hybrid C2 and step-in C3. It’s all about matching the crampon, boot type, and how you're going to use them.
C1 crampons are for walking. C2 and C3 crampons have a greater number of and more aggressive spikes, and are for mountaineering and climbing. Hiking boot ratings correspond accordingly to the type of crampon it can accommodate.
B1 boots = C1 crampons
B2 boots = C1, C2 crampons
B3 boots = C1, C2, C3 crampons
