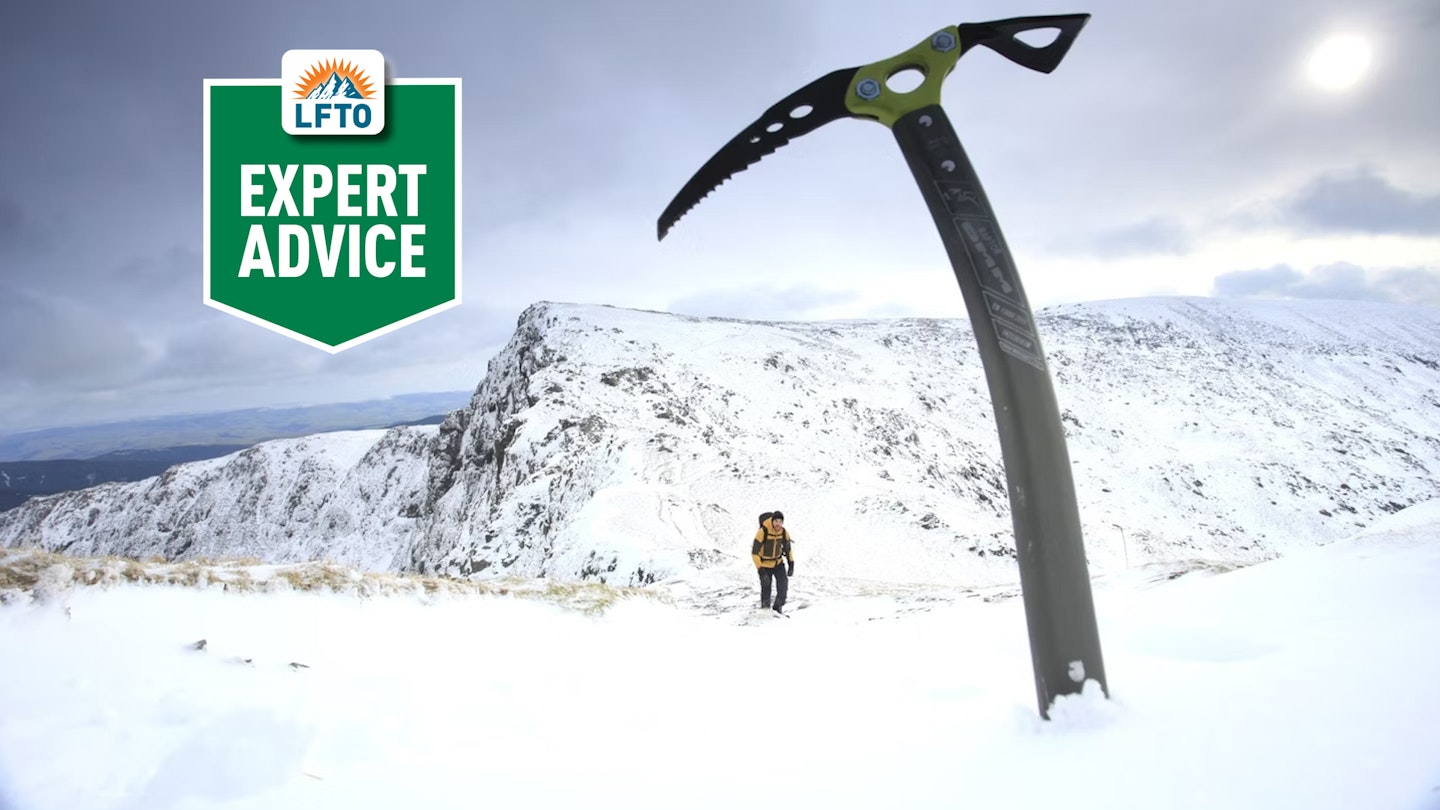
An ice axe is possibly the most important piece of kit you’ll carry in the winter mountains, but what can it do and how do you use it effectively?
Uses for an ice axe

1. For balance and support while walking, especially when going up and down snow slopes.
2. In an arrest, to prevent an accidental slip becoming a disaster.
3. As a grip and support when scrambling.
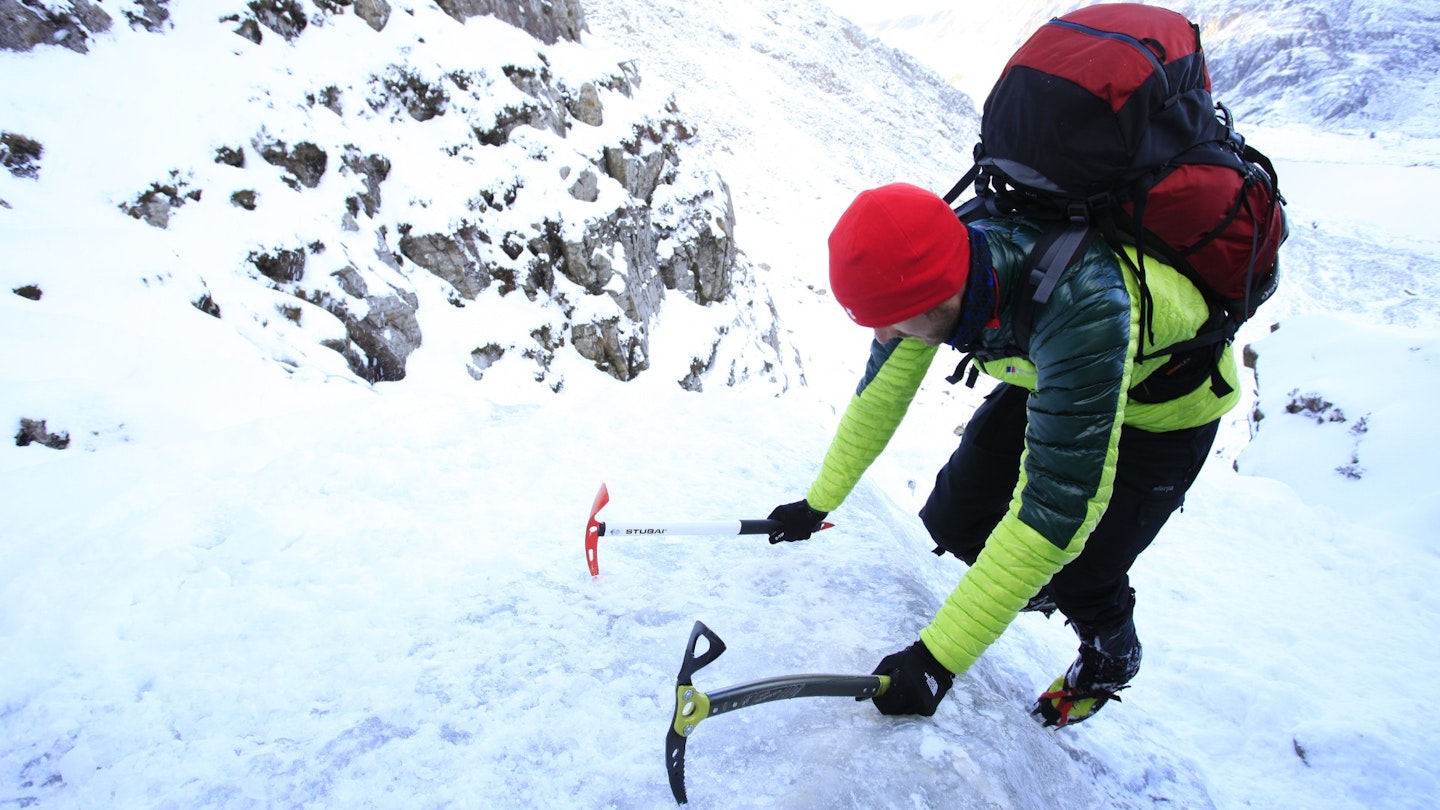
4. To cut steps in steep, treacherous situations, or across smaller patches of snow when it would be a bigger hassle to put crampons on.
5. For probing the snow to check the depth or the condition of the powder you encounter.
6. For knocking snow off your crampons if it starts to ball up.
7. To cut platforms into snow, for you to stand or sit in during a rest.
8. To stick the handle end into the snow and use as a brake when bum sliding.
How to perform a basic ice axe arrest

The most basic ice axe arrest, and the first one you’ll learn on any winter skills course, begins with sliding on your back, feet first. The only way to really learn this properly is to be taught in person, and to practise again and again until it becomes automatic.
As well as being one of the most fun parts of a winter skills course, you’ll also be taught how to arrest sliding headfirst or on your front. But this basic version, with you sliding on your back, feet first (which is where you’ll usually find yourself if you slip) is what you’ll start with:
1. Immediately bring the axe diagonally across your body, holding the head at your shoulder with one hand and the spike at the opposite hip with the other hand. The pick should be facing out and the adze pressing into the hollow beneath your collarbone.
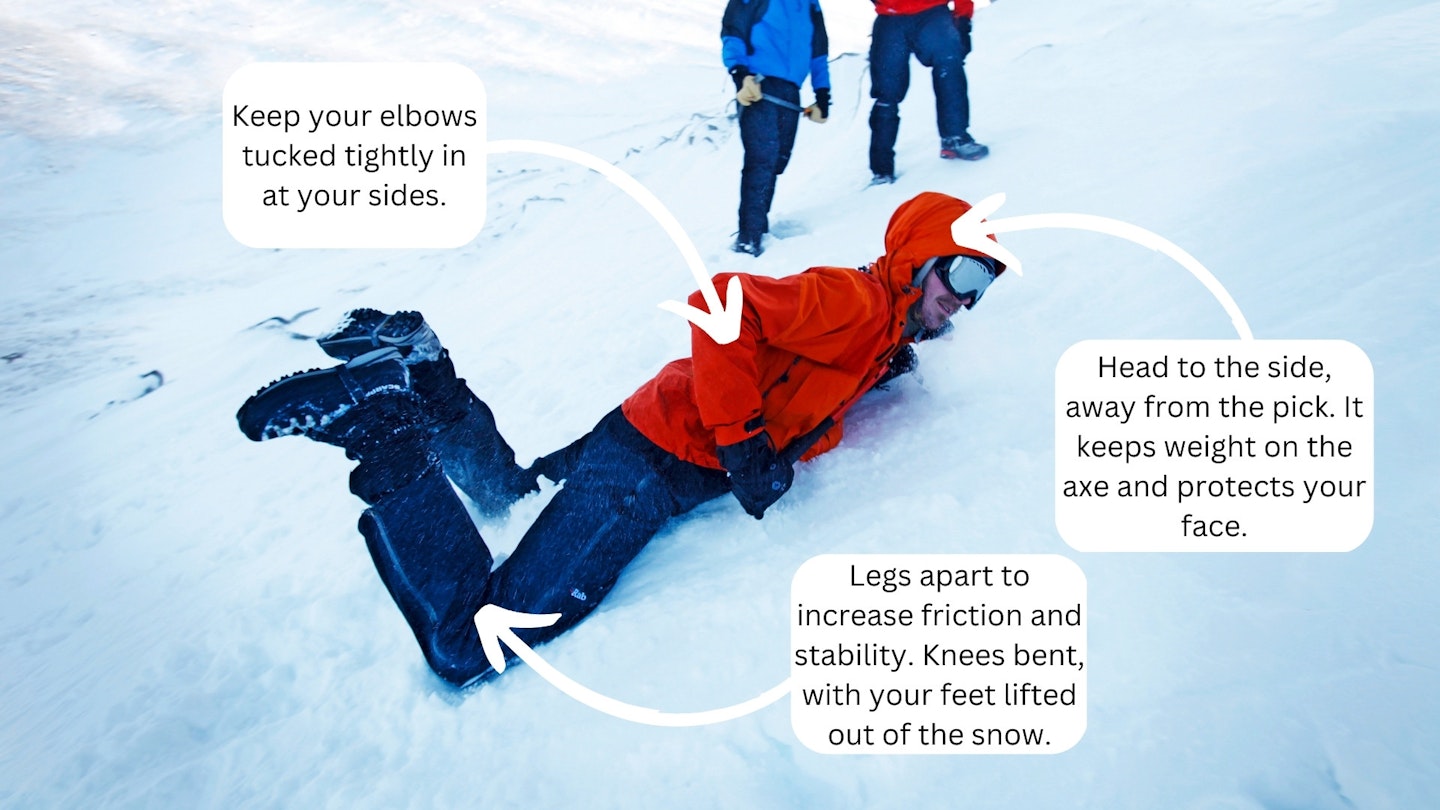
2. Bring your knees up to lift your feet clear of the snow, so your crampons don’t snag, sending you into an uncontrolled tumble.
3. Hugging the axe tight against your collarbone hollow, roll onto your front, arching your back to keep the pick out of the snow.
4. Once on your front, lift your stomach and push the bulk of your body weight progressively and firmly into the axe head.
5. The upper hand should grip the head, with the pick digging deep into the snow and the adze pressing below your collarbone. Grip the spike tightly against the opposite hip.
6. Keep steadily applying force to the axe head until you come to a stop.
Walking with your axe

1. Carry the axe with the pick facing backwards, your index finger pointing down the shaft, thumb under the adze (opposite end of the axe head to the pick), and the rest of the hand gripping the back of the pick. This allows you to swiftly bring it into position for an arrest if you fall.
2. When walking on a slope, keep it in your uphill hand, passing between hands as you turn if zigzagging.
3. When not in use, store your axe carefully to avoid injuring others. There are two main options for this. Either stash it securely in the side compression straps of your rucksack with the pick pointing backwards. Or tuck the axe shaft between your back and your pack, with the adze hooking over a shoulder strap to keep it in easy reach.
